Do you want to know how to capture amazing photos using lines? Do you want to use lines to take your compositions to the next level?
Then keep reading.
Because this article is going to give you 5 practical tips for using lines in your photography.
So that next time you’re faced with lines in your composition…
…you’ll get some truly fantastic photos!
Let’s dive right in.
Tips on Using Lines in Photography:
1. Place Lines at the Bottom of the Frame to Lead the Viewer Forward
If you’re looking to create amazing photos using lines…
…then you have to try the ‘leading line‘ technique. It’ll revolutionize your landscape, travel, and architectural photos, guaranteed.
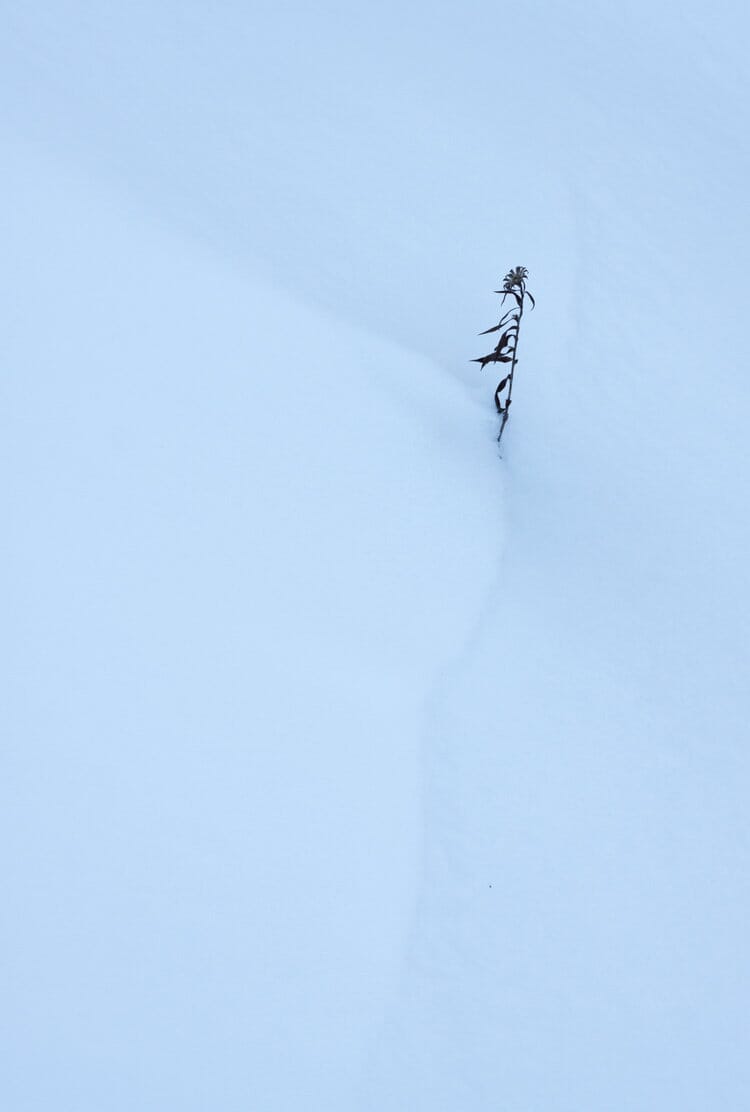
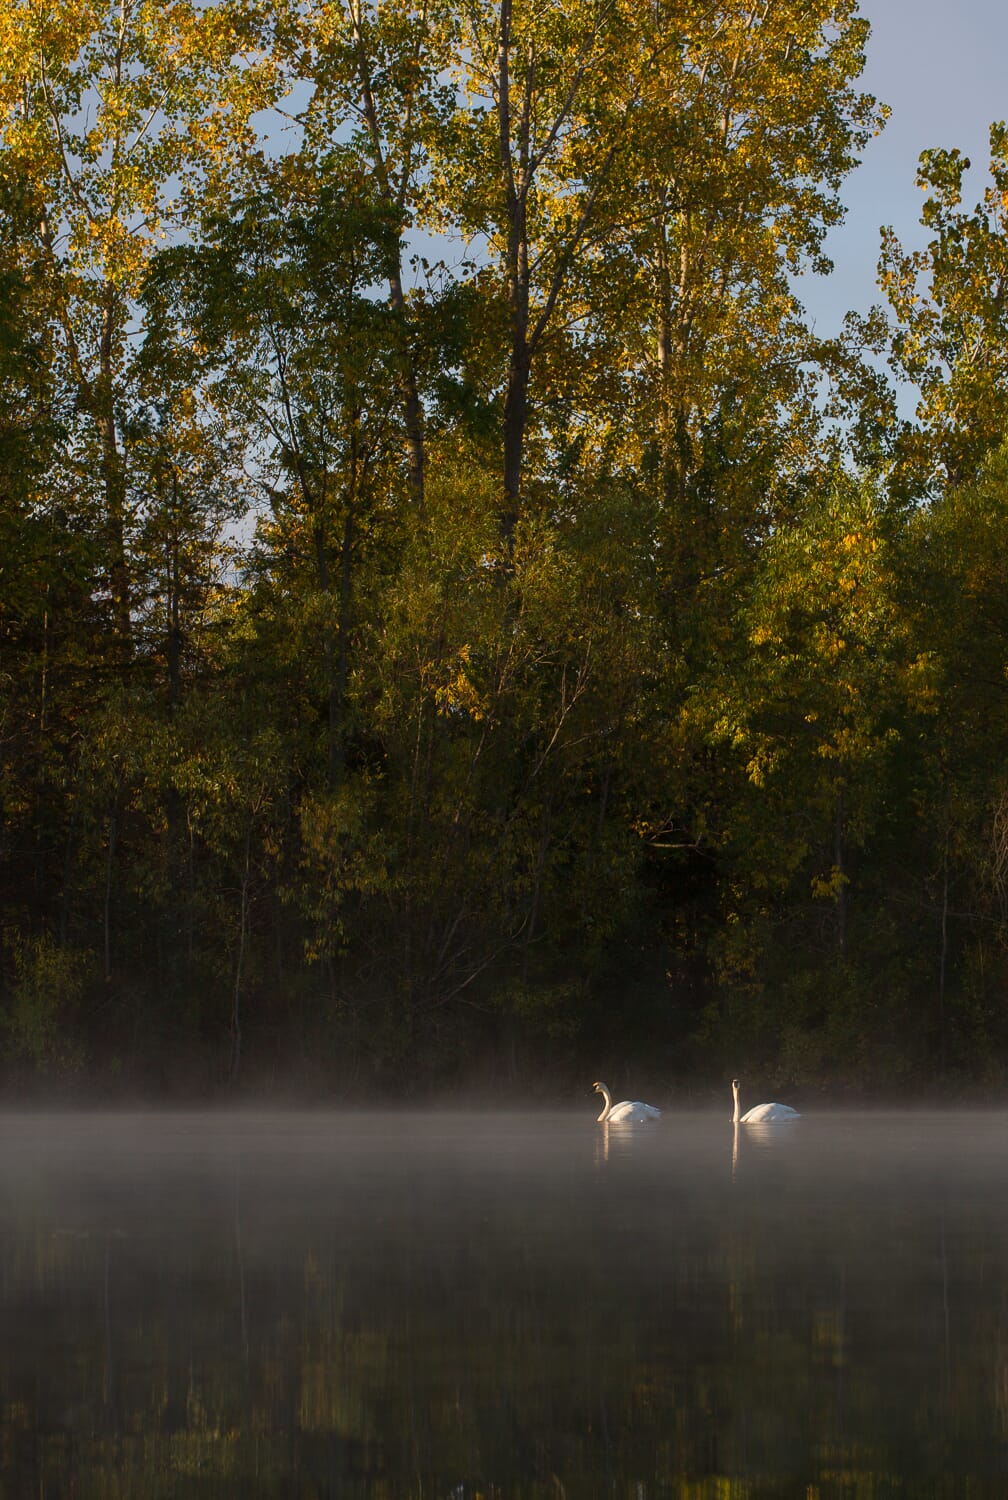
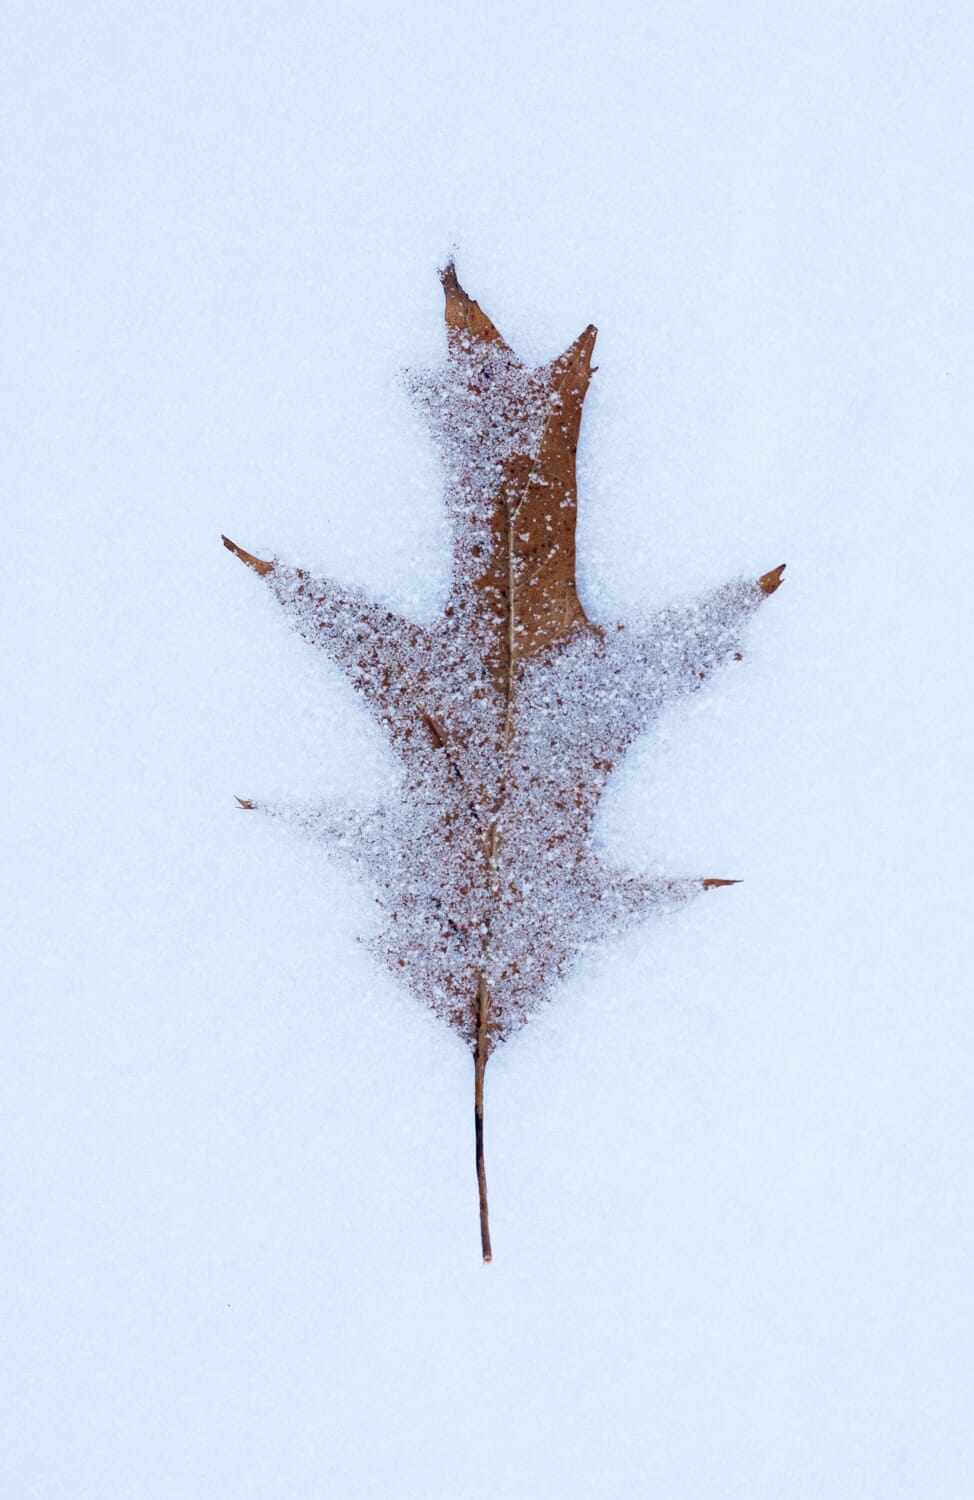
Leading lines refers to the lines that draw the viewer into the frame. They generally start toward the bottom of a photo, then direct the viewer toward the main compositional attraction. For instance, a river might wind toward a mountain the background, or a fallen log might draw the viewer toward a snowy tree.
But leading lines aren’t exclusive to landscape photography. While rivers, fallen logs, and interestingly-shaped rocks are the most common leading lines, travel photographers often use architectural features (e.g., the edges of buildings) for the same purpose: to draw the viewer in.
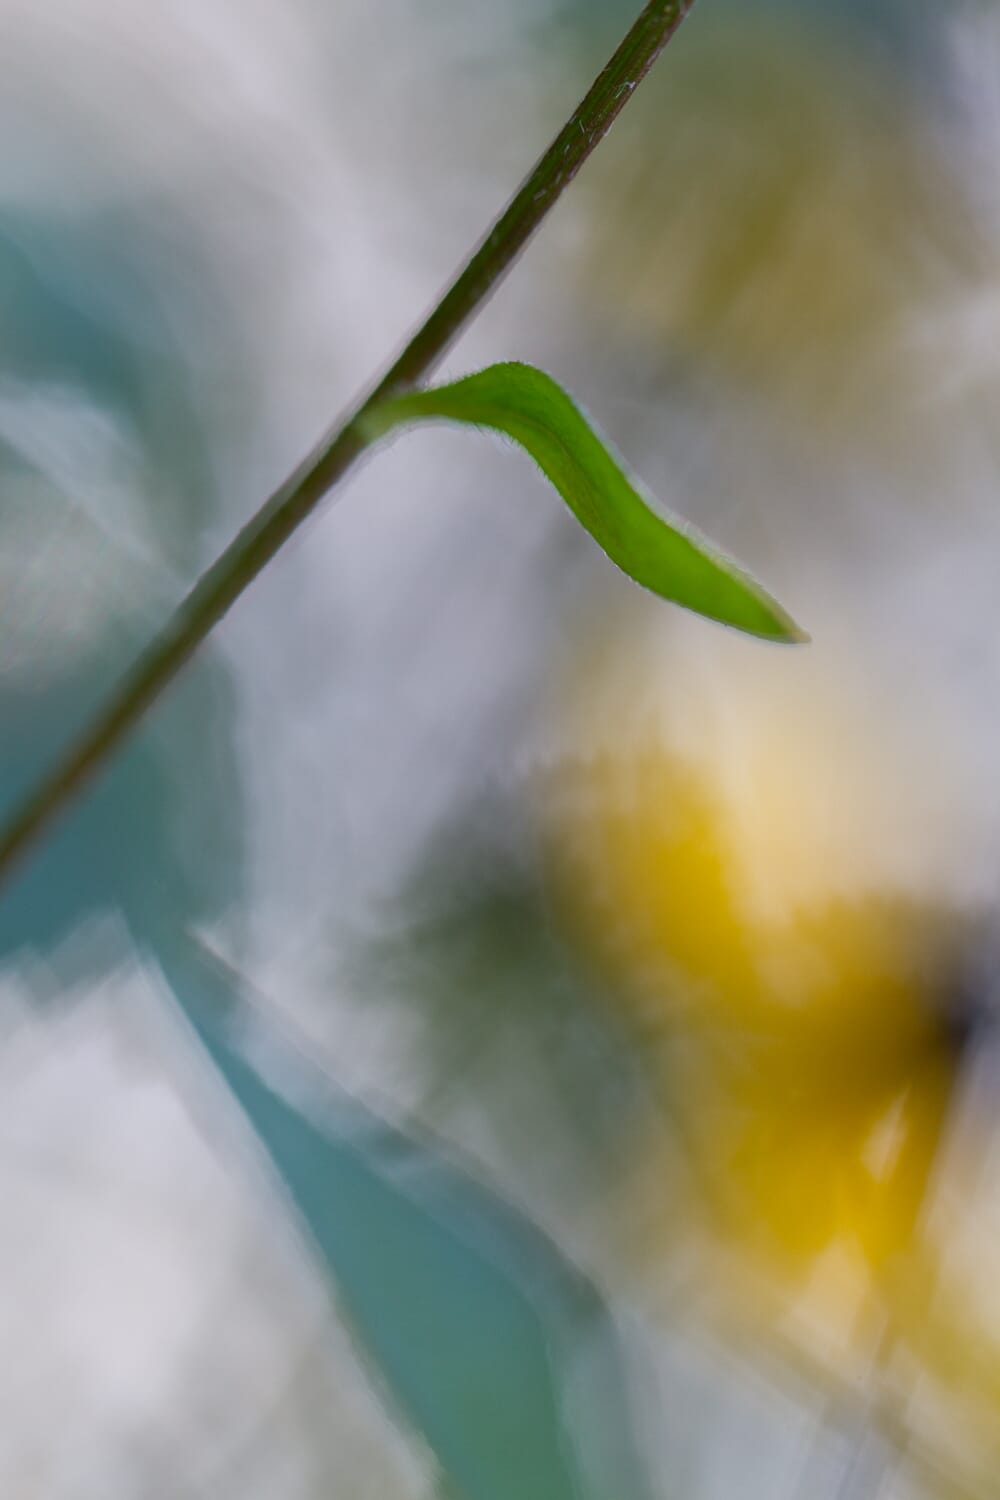
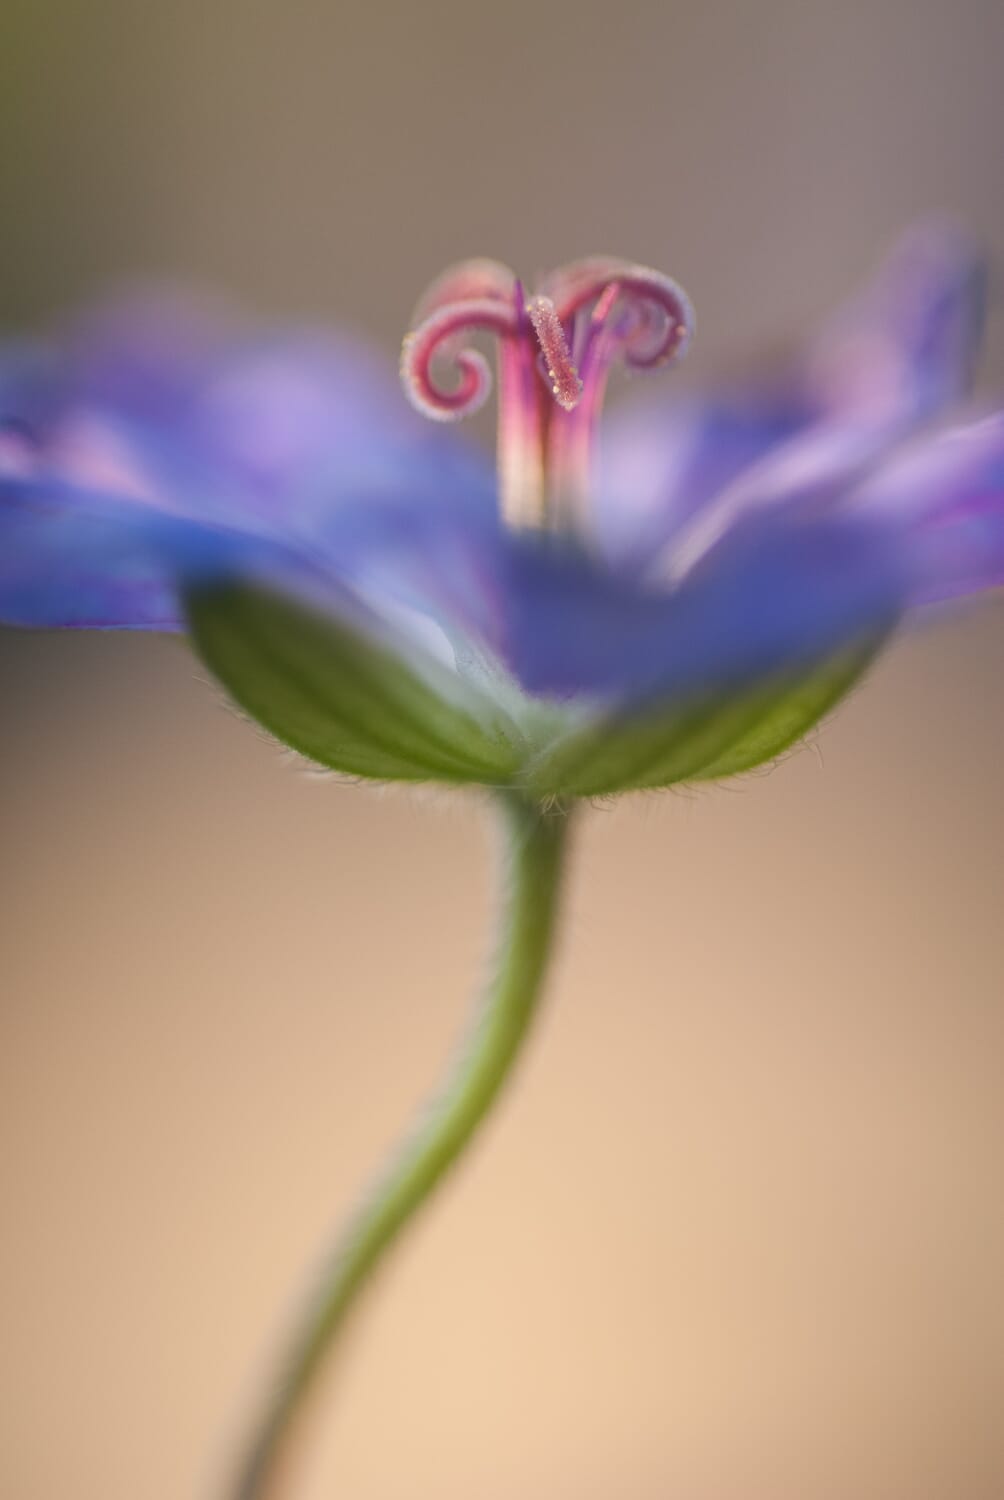
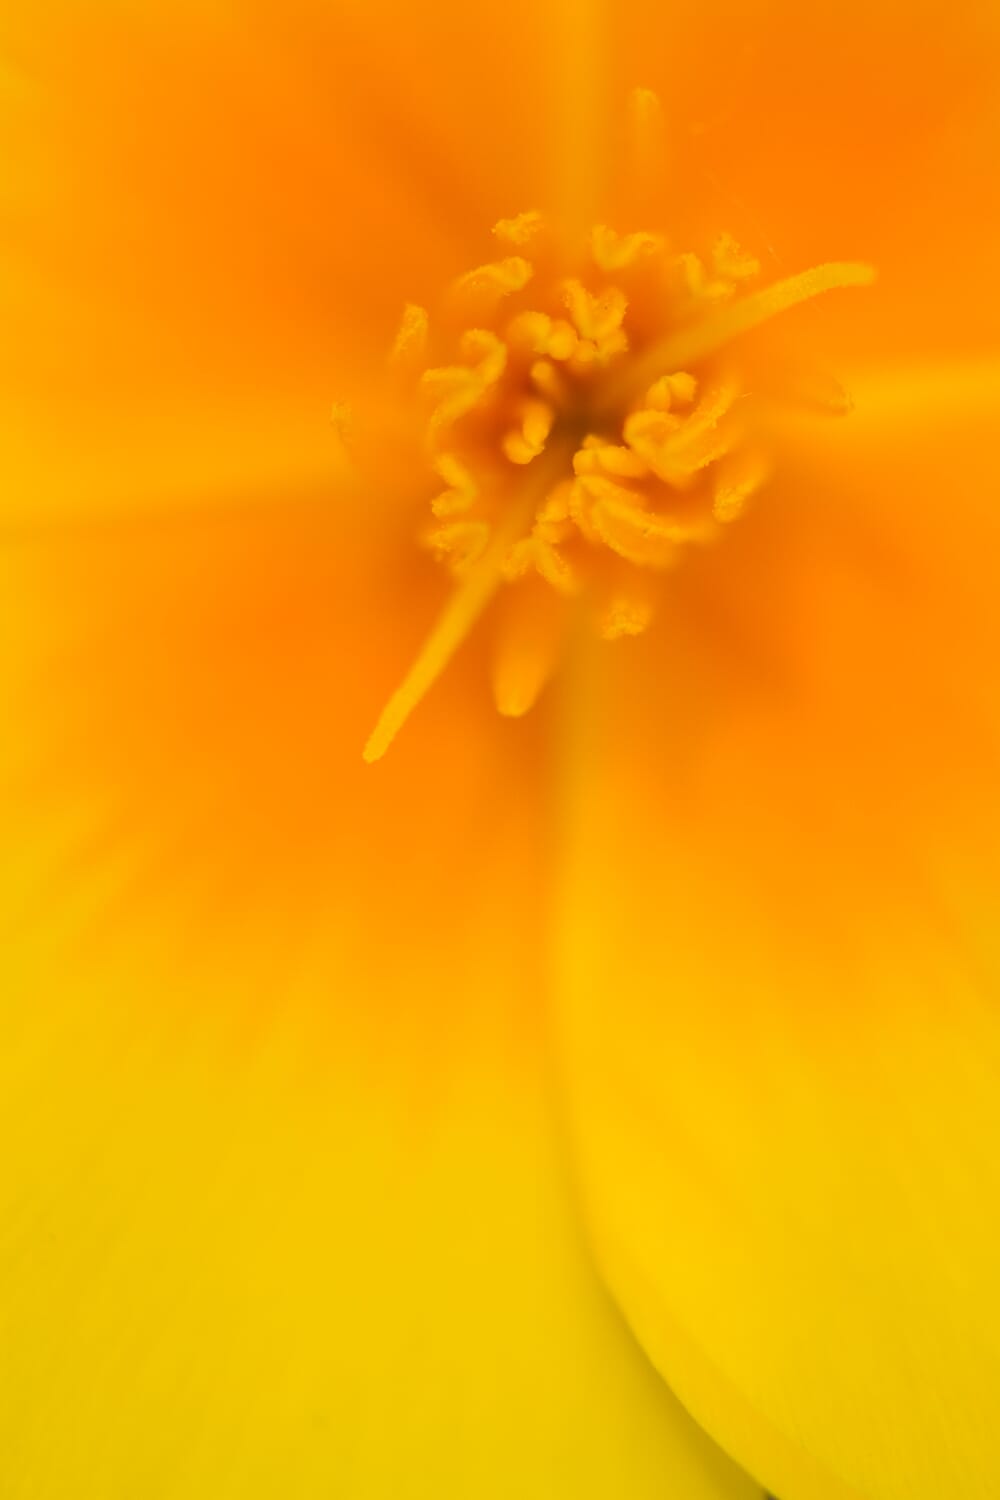
And flower photographers can use leading lines, too. When photographing curved petals and stems, you can let the lines of the flowers lead the viewer around the frame–for a truly stunning photo.

Now, as I mentioned above, it’s common for leading lines to begin at the bottom of the frame. This often helps create tremendous depth, especially in landscape photos.
But leading lines can start anywhere in a photo. They can begin at the top, the sides, or even the middle of the frame, directing the viewer around the frame, and keeping them engaged.
So the next time you come across a scene with a line in it, think about how you can use it to lead the eye into the frame.
That way, you’ll be guaranteed a more interesting, dynamic shot.
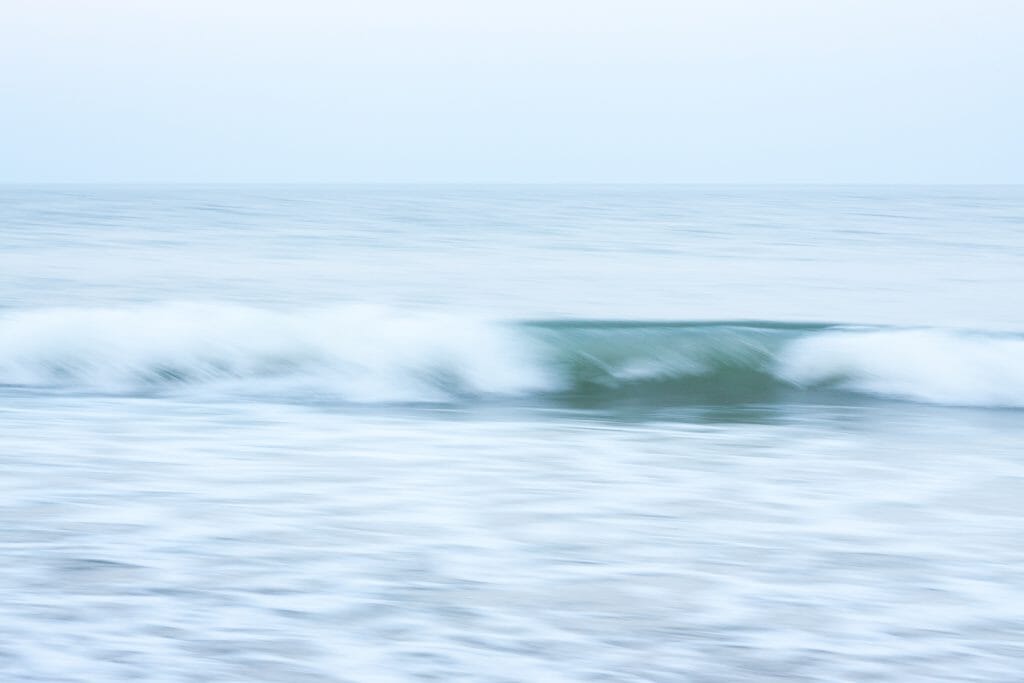
2. Create Intentional Camera Movement Photos With Lines
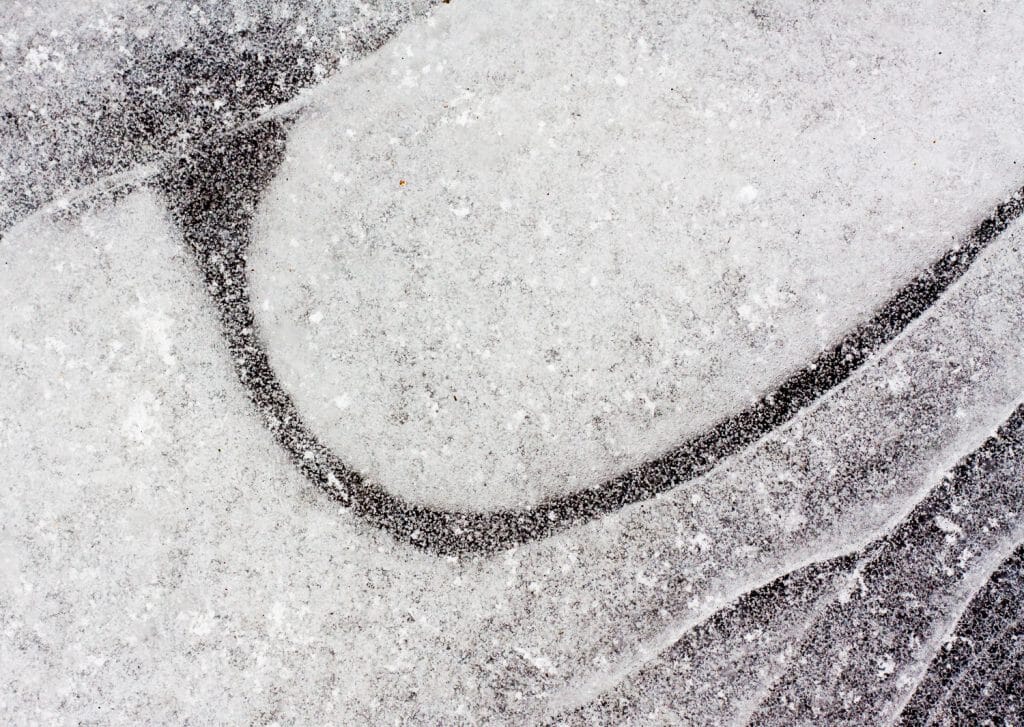
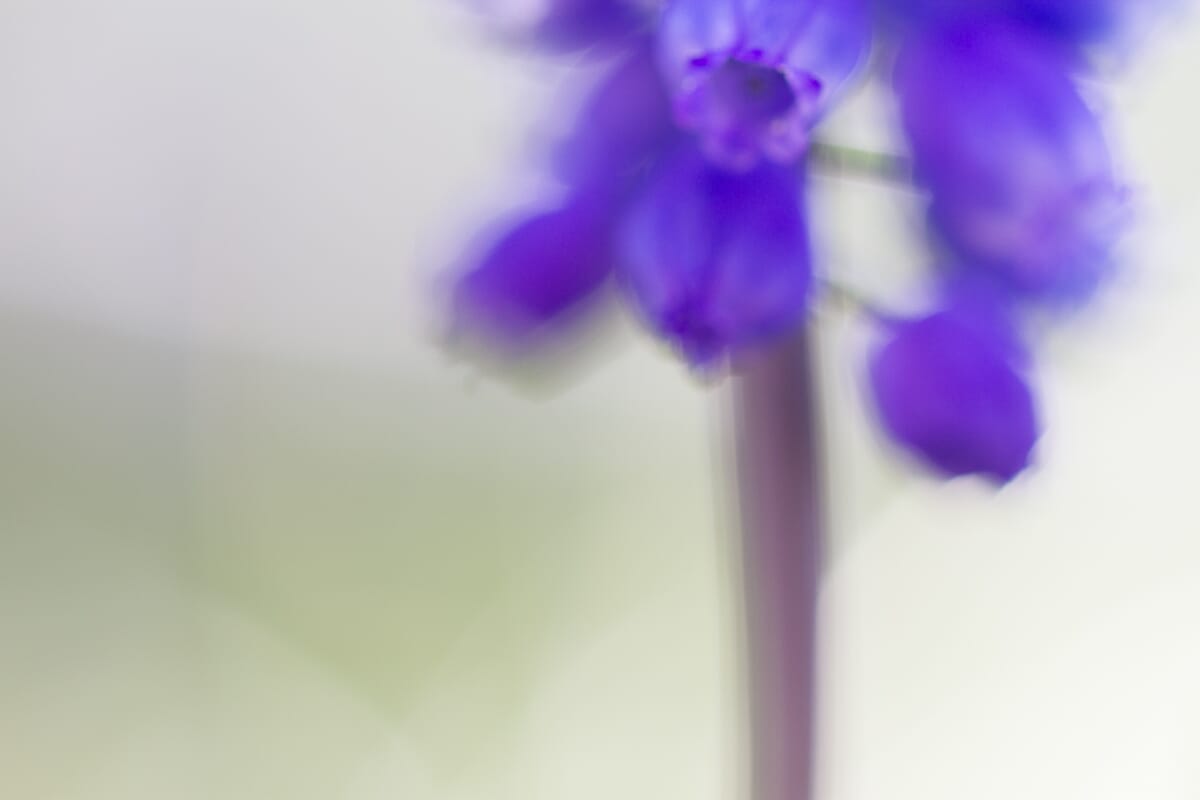
Intentional camera movement isn’t a technique that many photographers are familiar with, but you can use it to create some really neat abstracts–especially when you incorporate lines.
For instance, you can use intentional camera movement to create shots like this:
Here’s how it works:
First, find a scene with interesting lines.
Next, put your camera in Manual mode or Shutter Priority mode, and lower the shutter speed until it sits at around 1/10s.
Third, take some photos–while moving your camera.
You’ll end up with some deeply interesting abstract images!
Note that you should experiment with different shutter speeds to find something that you like (and the ideal shutter speed can change from scene to scene). You should also try different methods of moving your camera: up, down, left, right, etc.
But where do the lines come into all of this?
Well, a great way to ensure a powerful intentional camera movement photo is by moving your camera along a line.
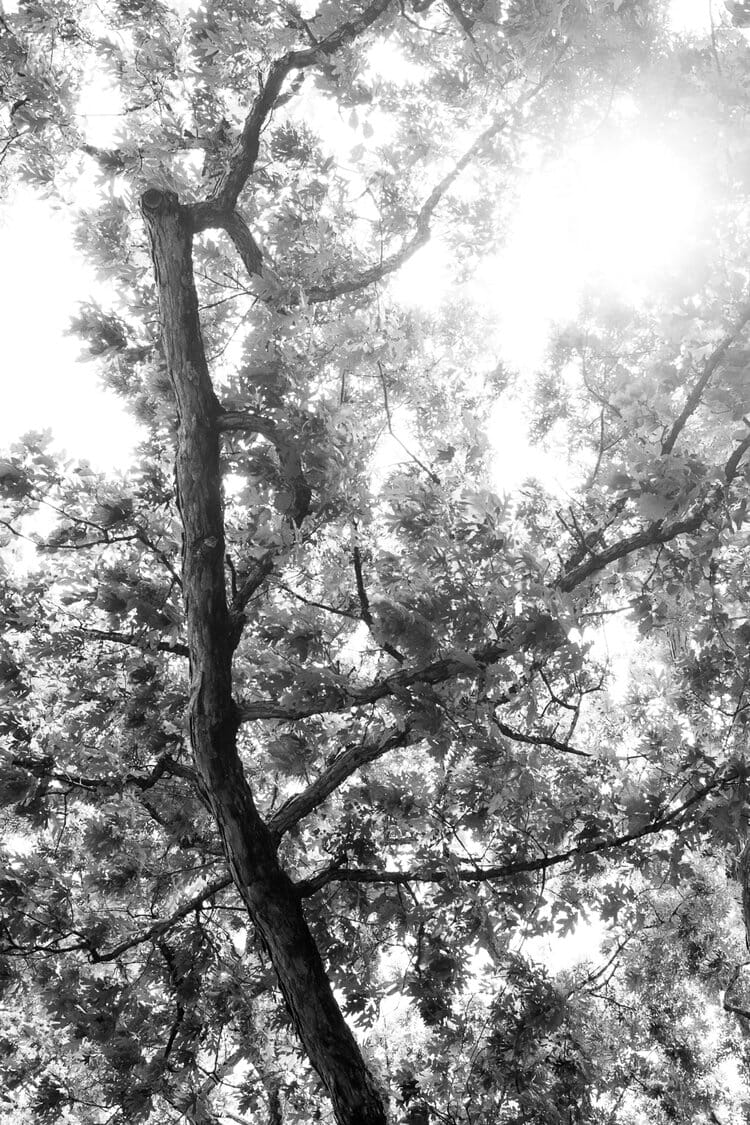
So if you’re photographing trees, you move your camera down the tree while taking a photo.
And if you’re photographing a flower, you move your camera down the flower stem.
This will give your photo an anchor point of sorts–which will result in a more powerful, impactful shot.
3. Place Lines Along the Rule of Thirds for Balanced Compositions
The rule of thirds states that the best compositions position the main elements 1/3rd of the way into the frame.
In other words, for a nice composition, you should put your main subject along one of these gridlines:

Now, the rule of thirds works will all sorts of situations. You don’t have to have lines of any sort.
But if you use the rule of thirds with lines…
…then your photos will look really, really good.

All you have to do is identify the main line of the frame.
And then place it along the rule of thirds gridlines, as pictured above. You’ll get a shot that has an excellent rule of thirds anchor point!
Related Posts
Note that the rule of thirds works in both the vertical and horizontal directions. So you can use lines across the top or bottom of the frame (such as a line of houses, or a road), or you can use lines across either side of the frame, such as a lamppost, a tree, or a river.
Even a horizon line can work:
Just make sure to remember the rule of thirds, and your images will come out looking good.

4. Put Lines in the Center of Your Photos for Powerful Symmetry
I talked about the rule of thirds in the tip above.
And it’s true:
Off-center compositions (those that use the rule of thirds) look really great.
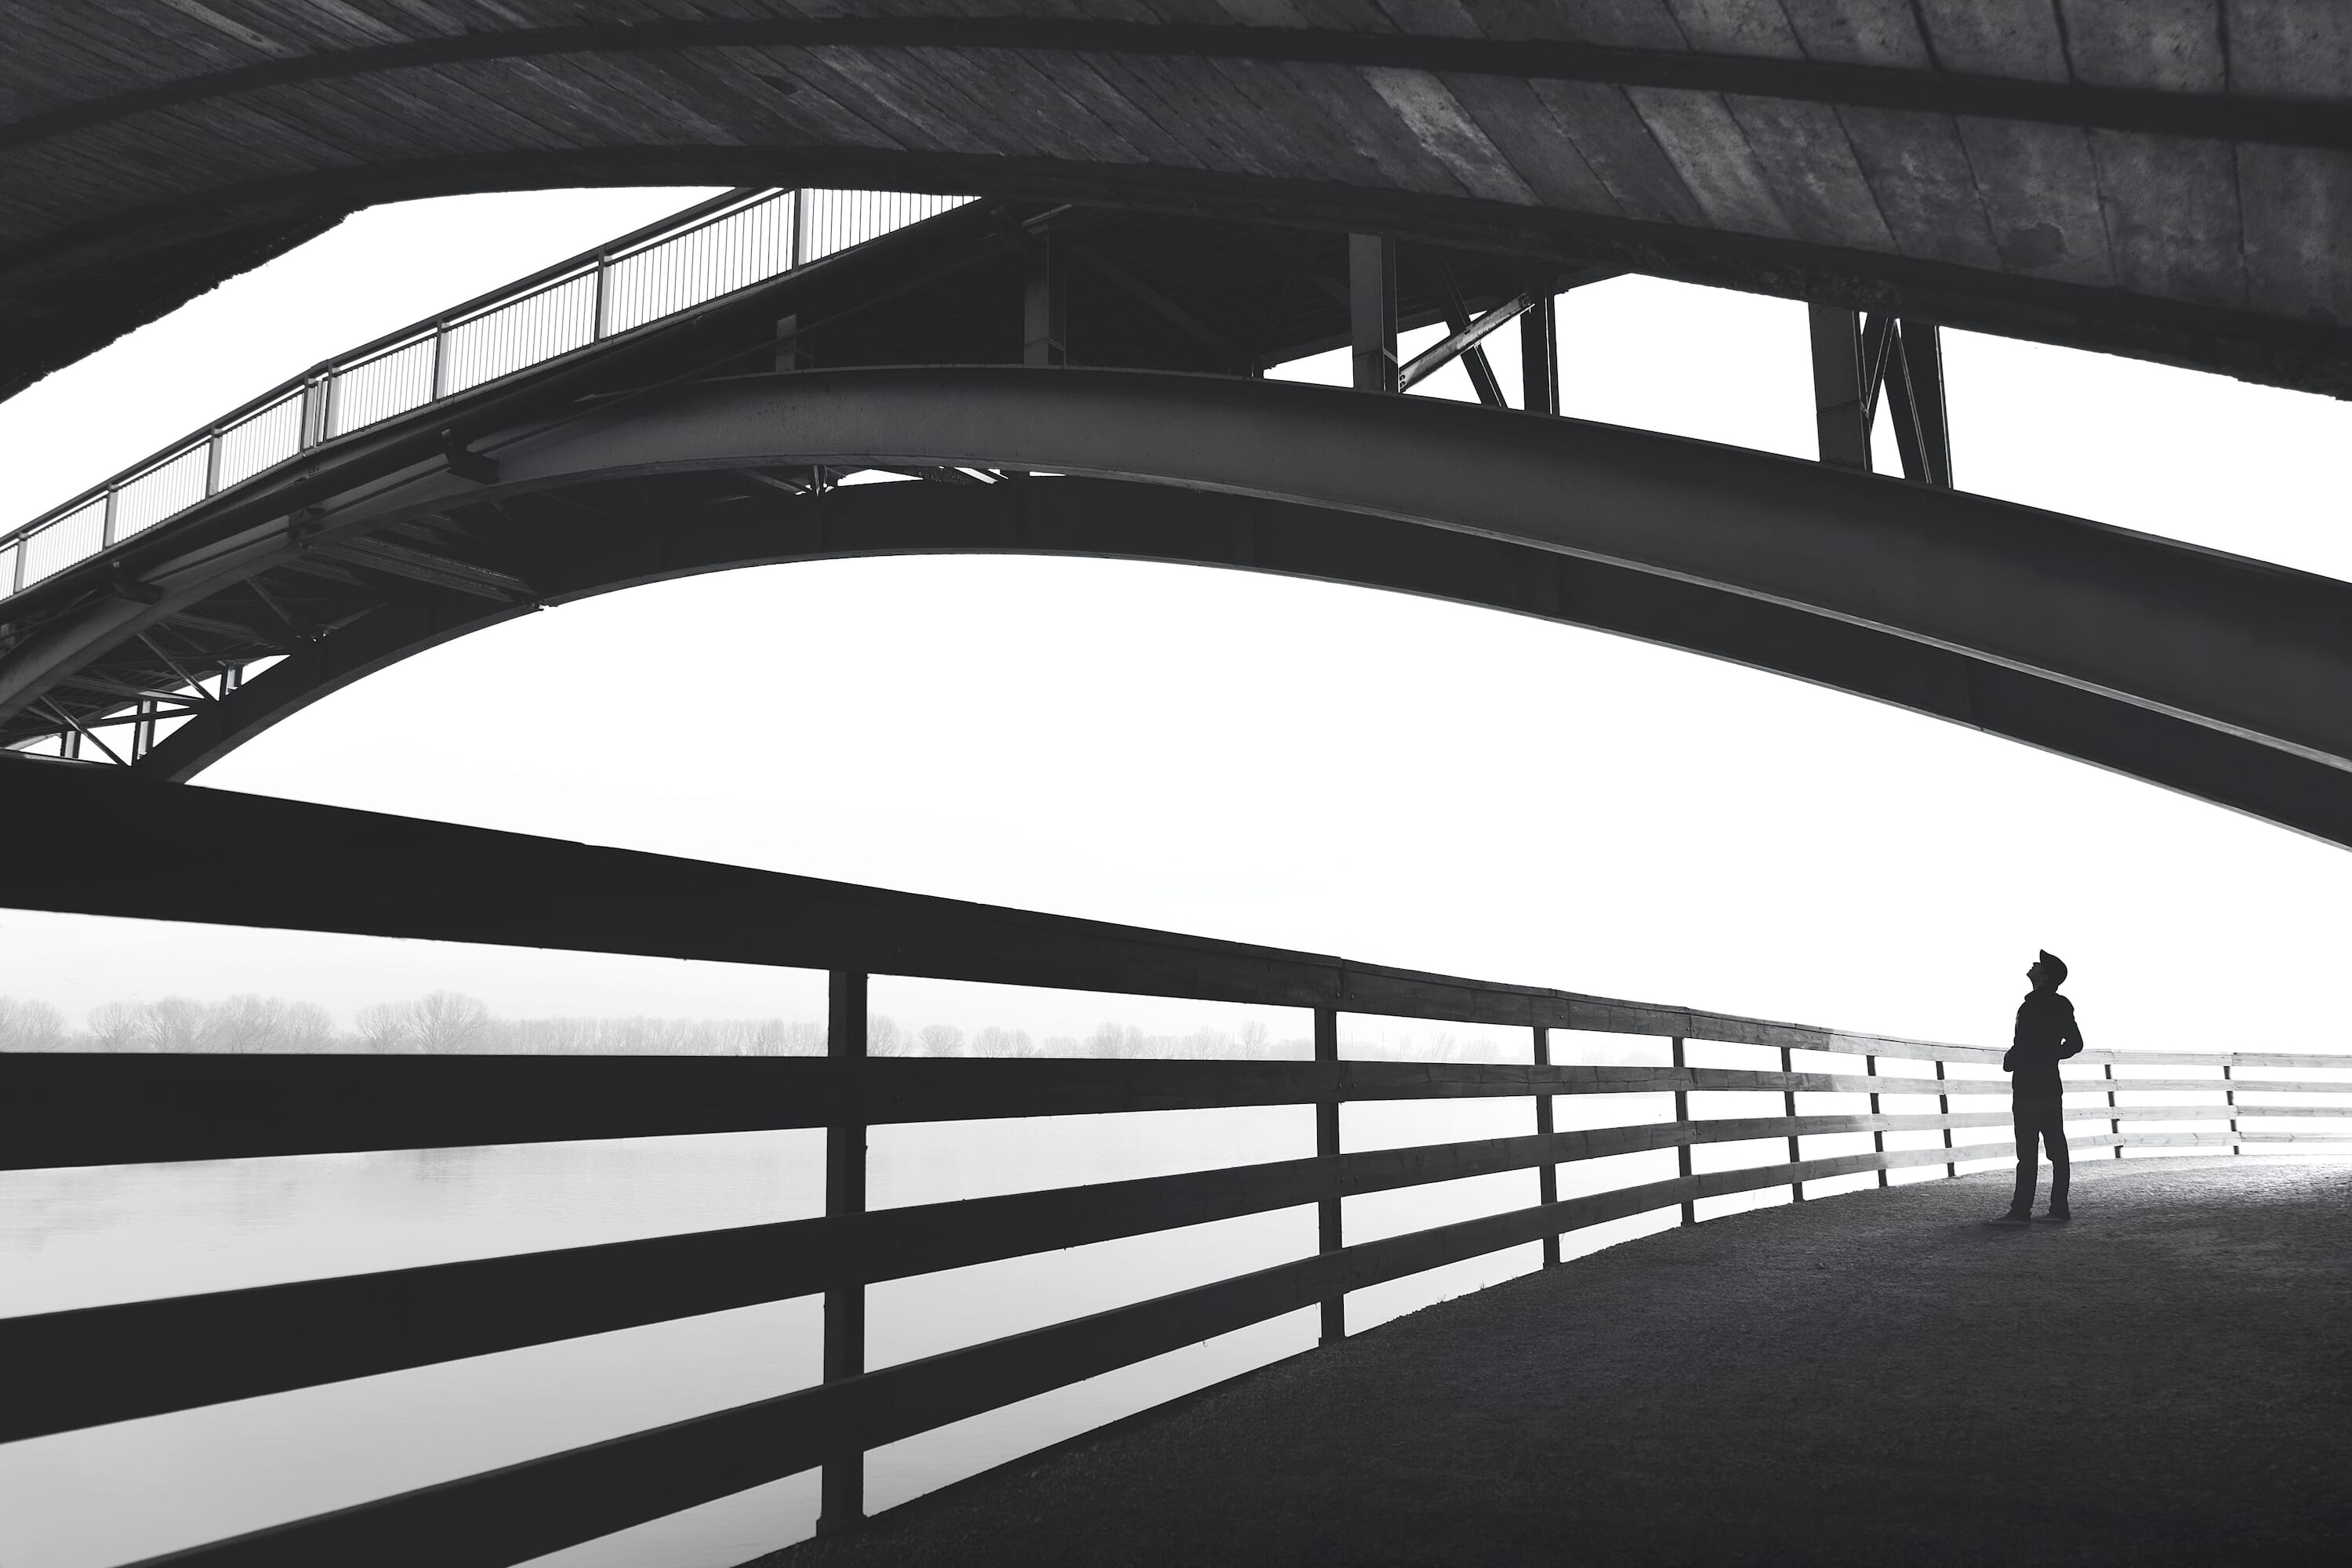
But you can also create very cool compositions if you place your subject smack-dab in the center. This creates a symmetrical effect–one that really hits the viewer in the face.
For instance, this shot uses symmetry for a more powerful composition:
Now, when doing photography with lines, I recommend sticking your main line in the center of the photo to see what you can get.
This technique works especially well when you have a strong vertical line that splits the scene symmetrically in two.
It works less well with horizontal lines, and it tends to perform poorly when dealing with lines that aren’t quite straight (i.e., curves).

So in those cases, I recommend you follow one of the other tips I’ve given.
But when you have a powerful vertical line and a symmetrical scene, then go crazy! Center your photo as much as possible.
You’ll get a very cool set of images.
5. Use Lines to Create Layers for Complex Scenic Images
Here’s your final tip for using lines in photography:
Create layers with lines. Whenever you can.
I’m talking about layers like this:
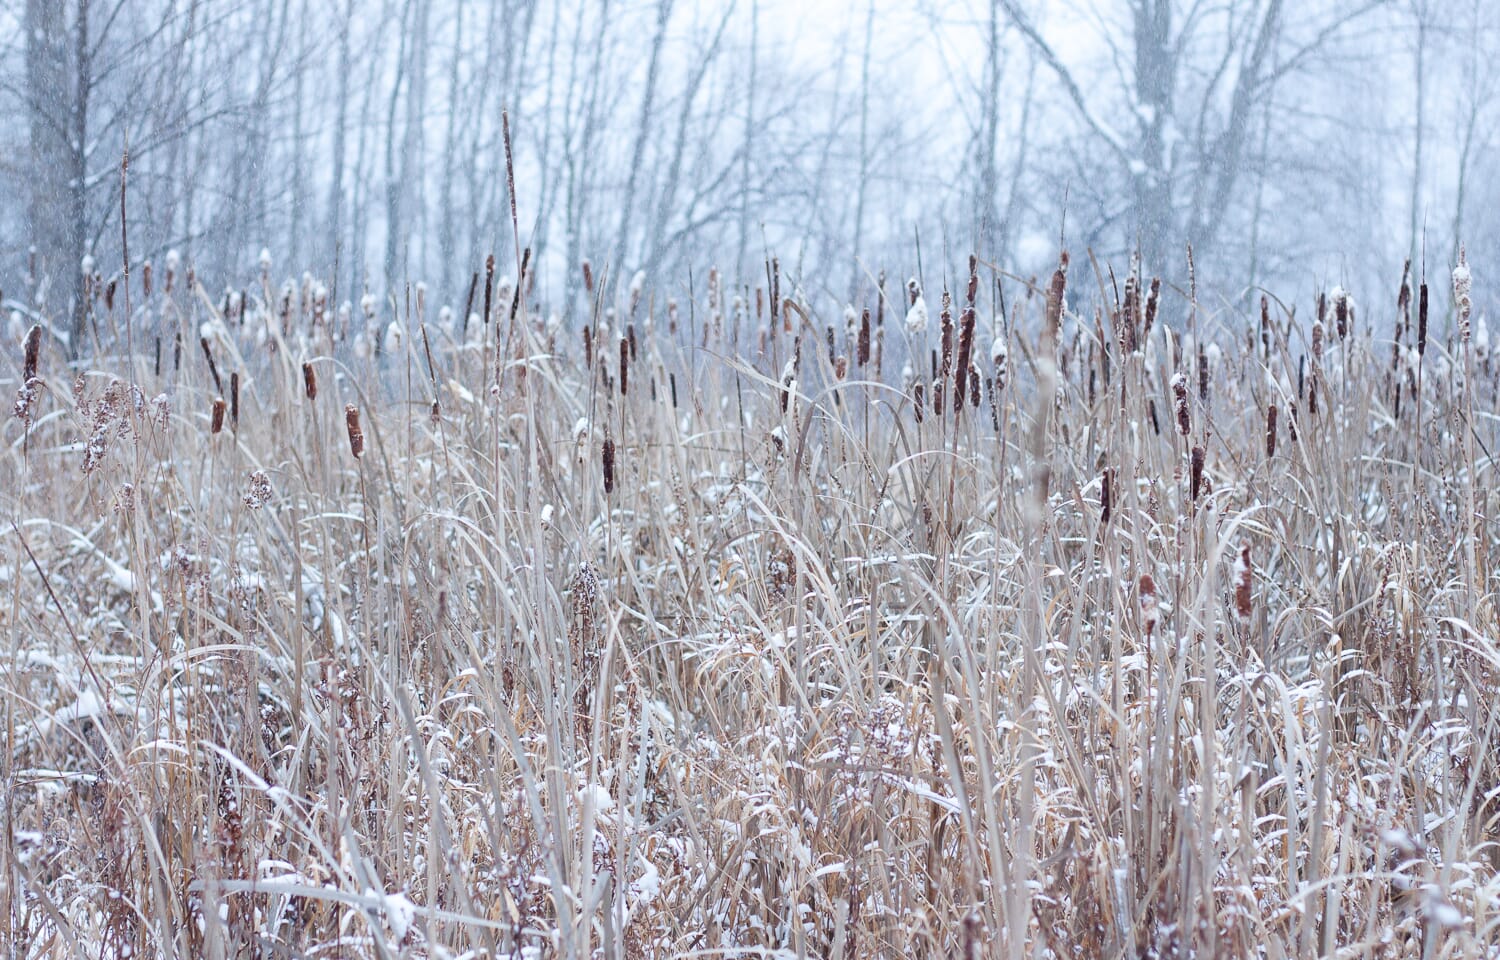
See how the image seems to have lines drawn between the foreground (the cattails) and the background (the trees)? Those lines add an element of depth to your images that it’s tough to achieve otherwise. In fact, I recommend you use layers whenever you can–but especially in your landscape images.
To find layers, look around the scene for potential horizontal lines. Try to find areas that seem to separate themselves from the background. For instance, look for trees that stand out against a mountain background, or a road that stands out in front of a desert sunset.
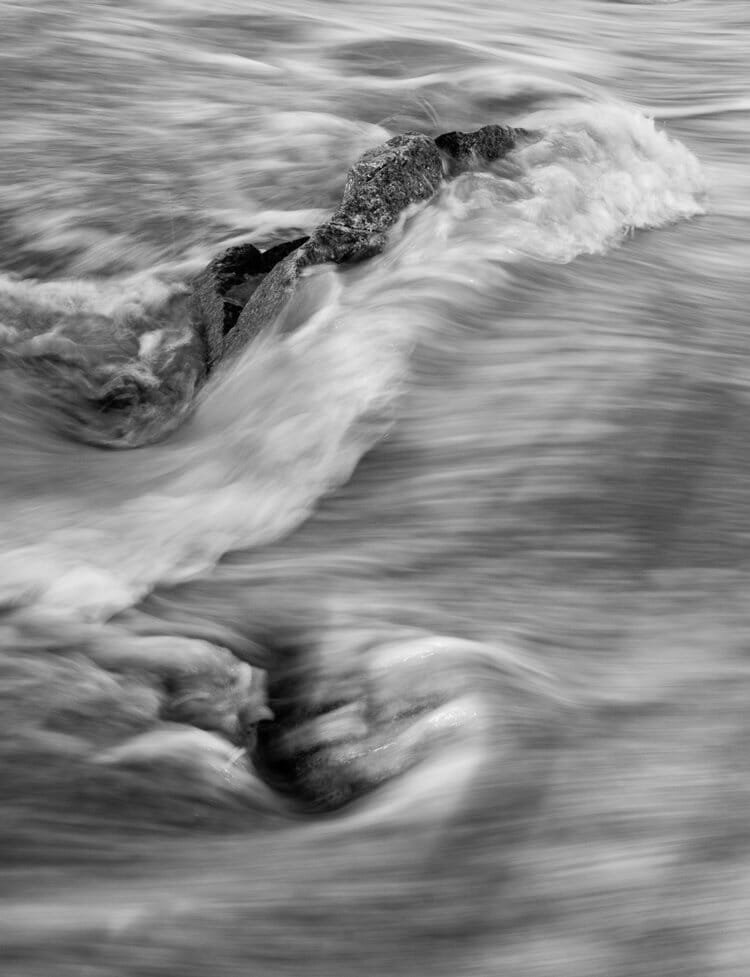
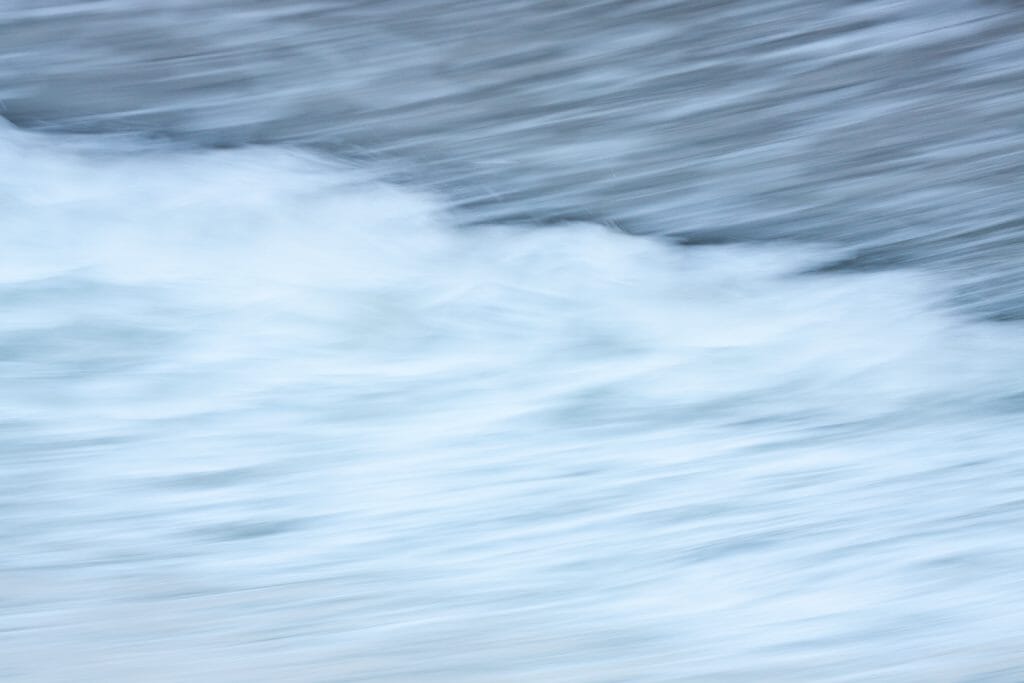
Even waves at a beach can create layers:
When working with scenes like these, you’ll need to make sure you use an adequate aperture to keep everything sharp. If you have a very close foreground subject, choose an aperture of at least f/11 (or try to focus stack!).
Once you’ve spent a lot of time looking for layers, you’ll start to see them everywhere. Because the truth is that layers exist all around you; you just have to learn to see them!
How to Use Lines in Photography: Conclusion
If you want to create amazing photos, then learning to use lines in your photography is a great first step.
Lines can absolutely revolutionize your photography–by drawing the viewer in, adding depth, anchoring your composition, and so much more.
So the next time you see lines, try to incorporate them into your photos.
You’ll come away with some very cool shots!

How do you use lines in photography for gorgeous photos?
There are a few key ways you can capture beautiful photos using lines. First, you can use leading lines to bring the viewer into the frame; this involves placing lines toward the edge of the shot, so that they guide the eye into the photo. Second, you can use intentional camera movement to capture creative, line-focused images. Third, you can put lines along the rule of thirds guidelines. Fourth, you can use symmetry with lines down the middle for impactful shots–and fifth, you can create layers for more sophisticated, thoughtful images.
How do you use the rule of thirds for beautiful photos with lines?
To incorporate lines into rule of thirds images, I recommend placing a prominent line along a rule of thirds gridline (a third of the way into the frame). This will ensure your photo is nicely balanced, and it’ll also draw attention to the line. Note that you can use either a horizontal or a vertical line (or both!).
What are leading lines?
Leading lines are lines that draw the viewer’s eye into the frame. They tend to come from the edges of an image, so that they take the viewer from the bottom (or sides) toward the focal point of the photo. Leading lines can be anything: a flower stem, a river, a fallen tree, and more. Though leading lines are especially common in landscape photography, where they’re used to add depth to images.
How do you use lines with intentional camera movement?
When doing intentional camera movement photos, I recommend you move your camera along a line–so that the line is a very clear focal point in the composition. This will result in a more powerful shot overall, and one that looks both artistic and well-composed.