Manual Mode: Key Takeaways
- Manual mode lets you set your aperture, shutter speed, and ISO
- Aperture, shutter speed, and ISO together determine the exposure; by using Manual mode, you can produce the exact result you’ve envisioned
- Start by dialing in the most important setting (generally aperture or shutter speed, depending on your scene)
- Then use your camera’s viewfinder exposure bar to adjust the other exposure settings
- Use Manual mode during slower-paced photoshoots or with unchanging light
If you’re looking to take full control of your camera and get perfectly exposed, high-quality images, then this is the right article for you.
Because I’m going to tell you all about Manual mode.
Some folks think that Manual mode is too difficult to learn, or that it’s reserved only for professionals.
But that’s not true in the slightest.
Manual mode really easy to pick up — and it’s a mode that you can use every single day for better photos.
Let’s dive right in.
Manual Mode in Photography:
What Is Manual Mode?
Manual mode allows you to independently choose all three of your key camera settings:
- Aperture.
- Shutter speed.
- And ISO.
This is in contrast to:
Auto mode, which chooses all three settings for you.
- Aperture Priority mode, which allows you to choose your aperture and ISO but picks your shutter speed automatically.
- Shutter Priority mode, which lets you choose your shutter speed and ISO, but picks your aperture automatically.
- And Program mode, which lets you choose the ISO, while the camera automatically picks the aperture and shutter speed.
In other words:
Manual mode is how you choose all the settings, and your camera chooses none.
What Is the Purpose of Aperture, Shutter Speed, and ISO?
Aperture, shutter speed, and ISO are all about determining the exposure (i.e., the brightness) of your images.
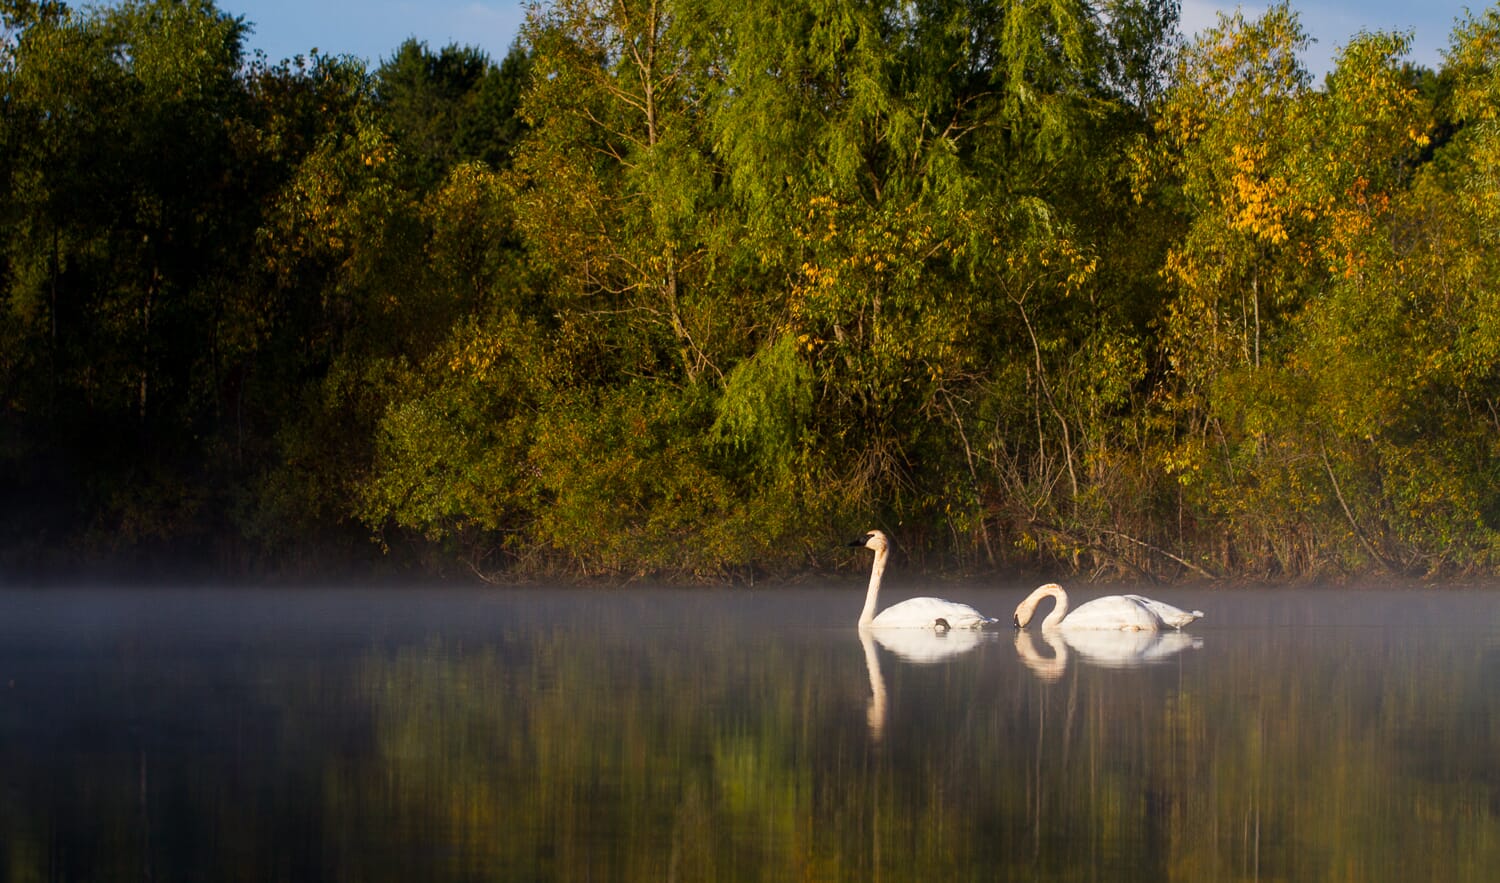
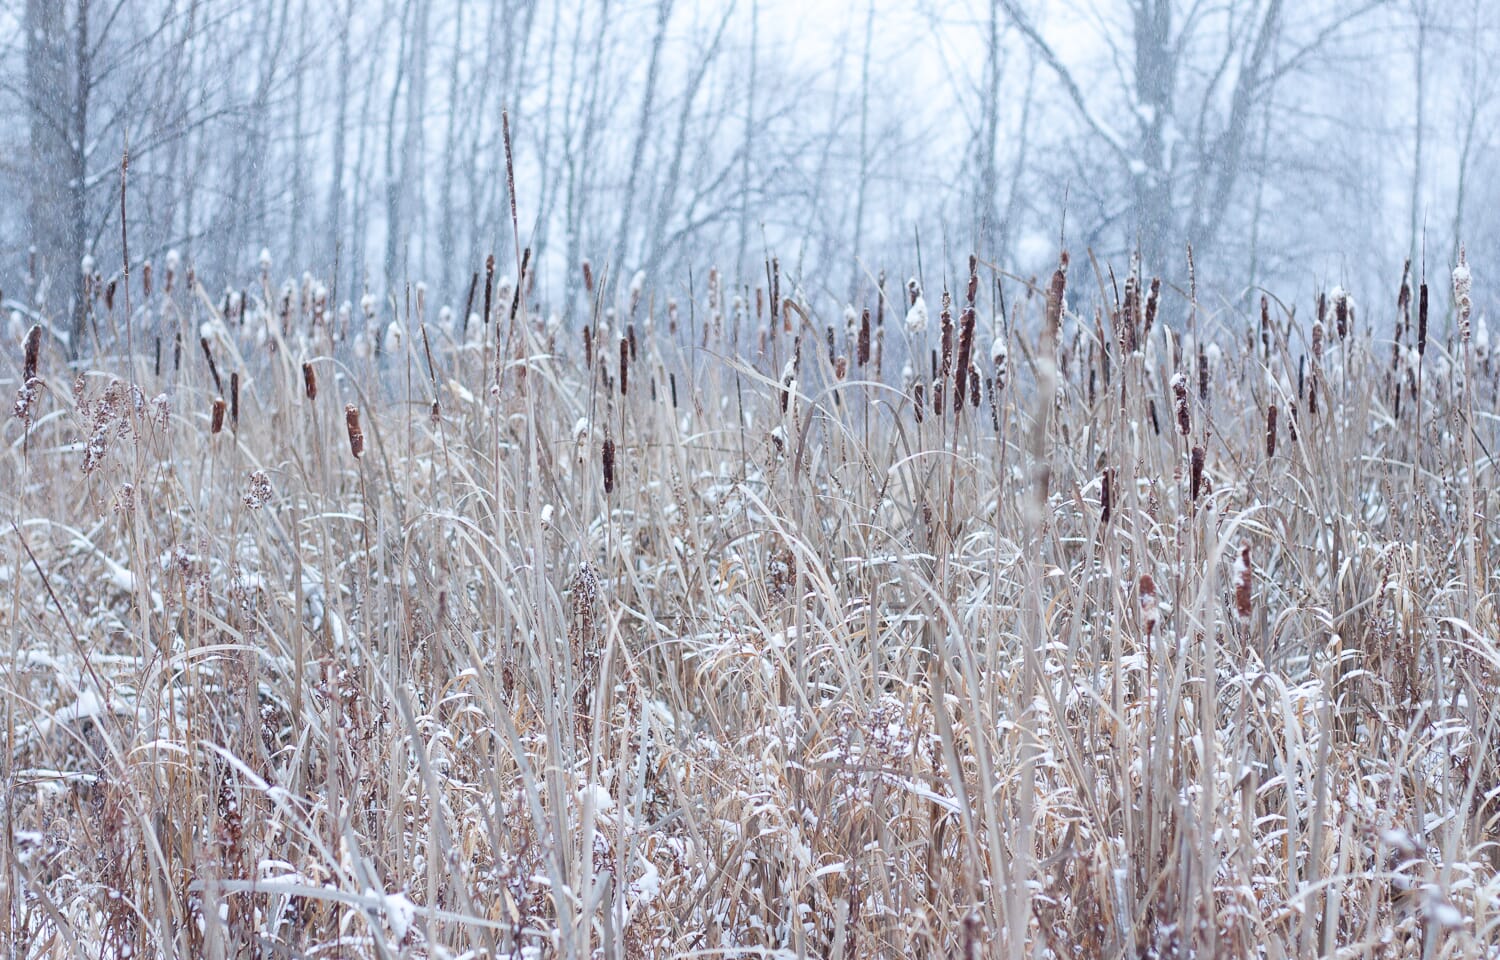
So depending on your choice of settings, you might end up with a nicely exposed photo like this one:
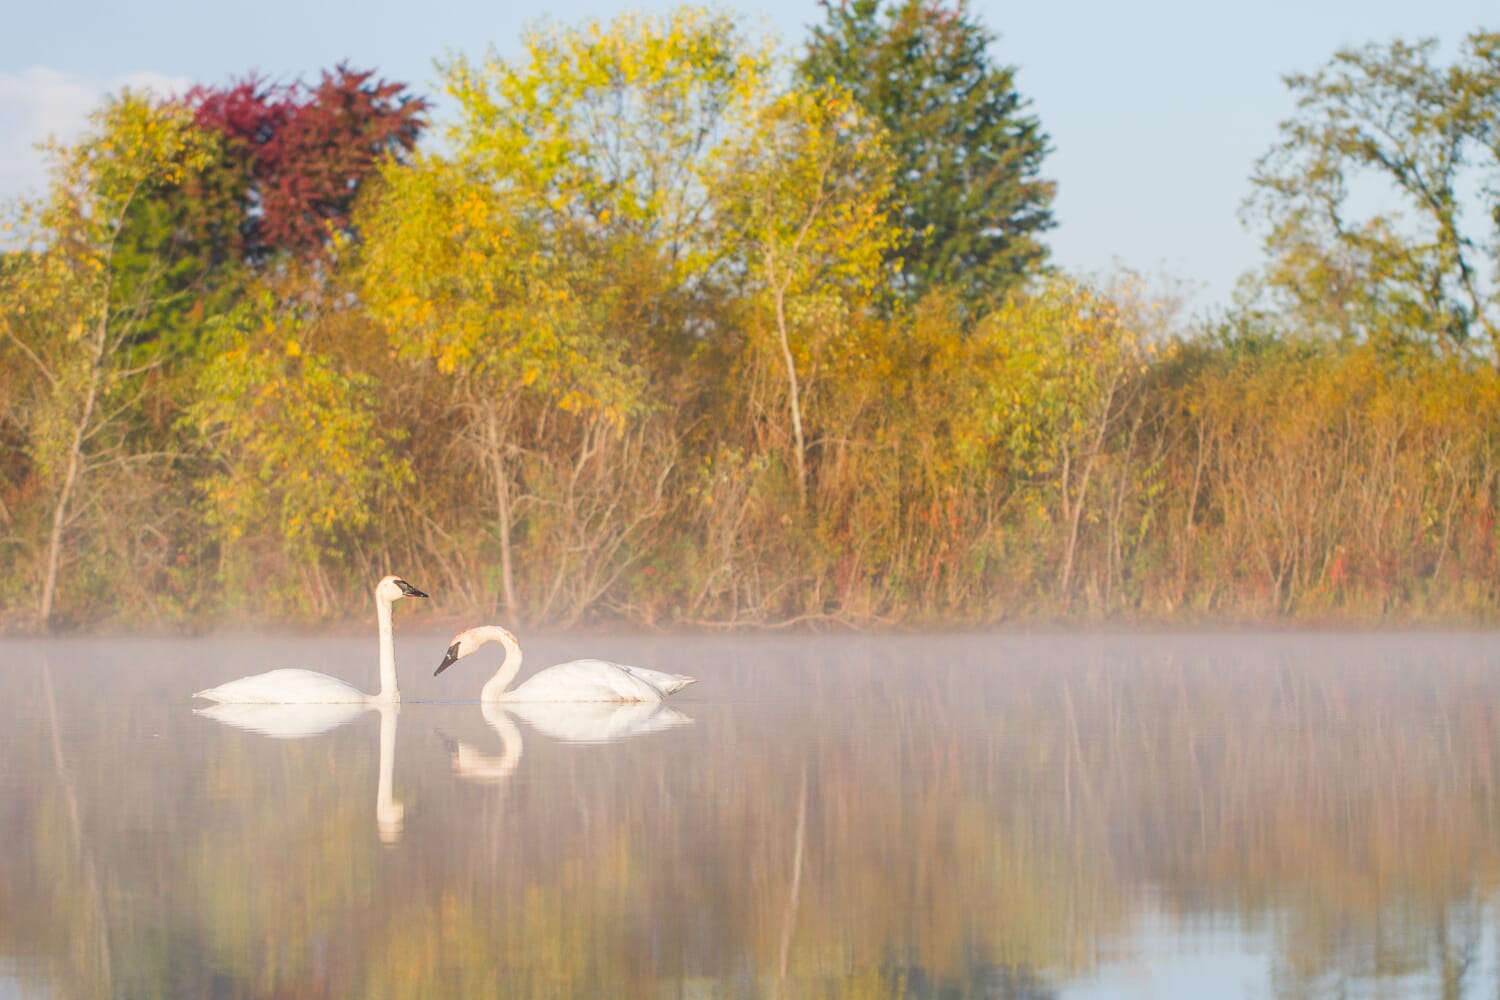
Or a photo that’s too light, like this:
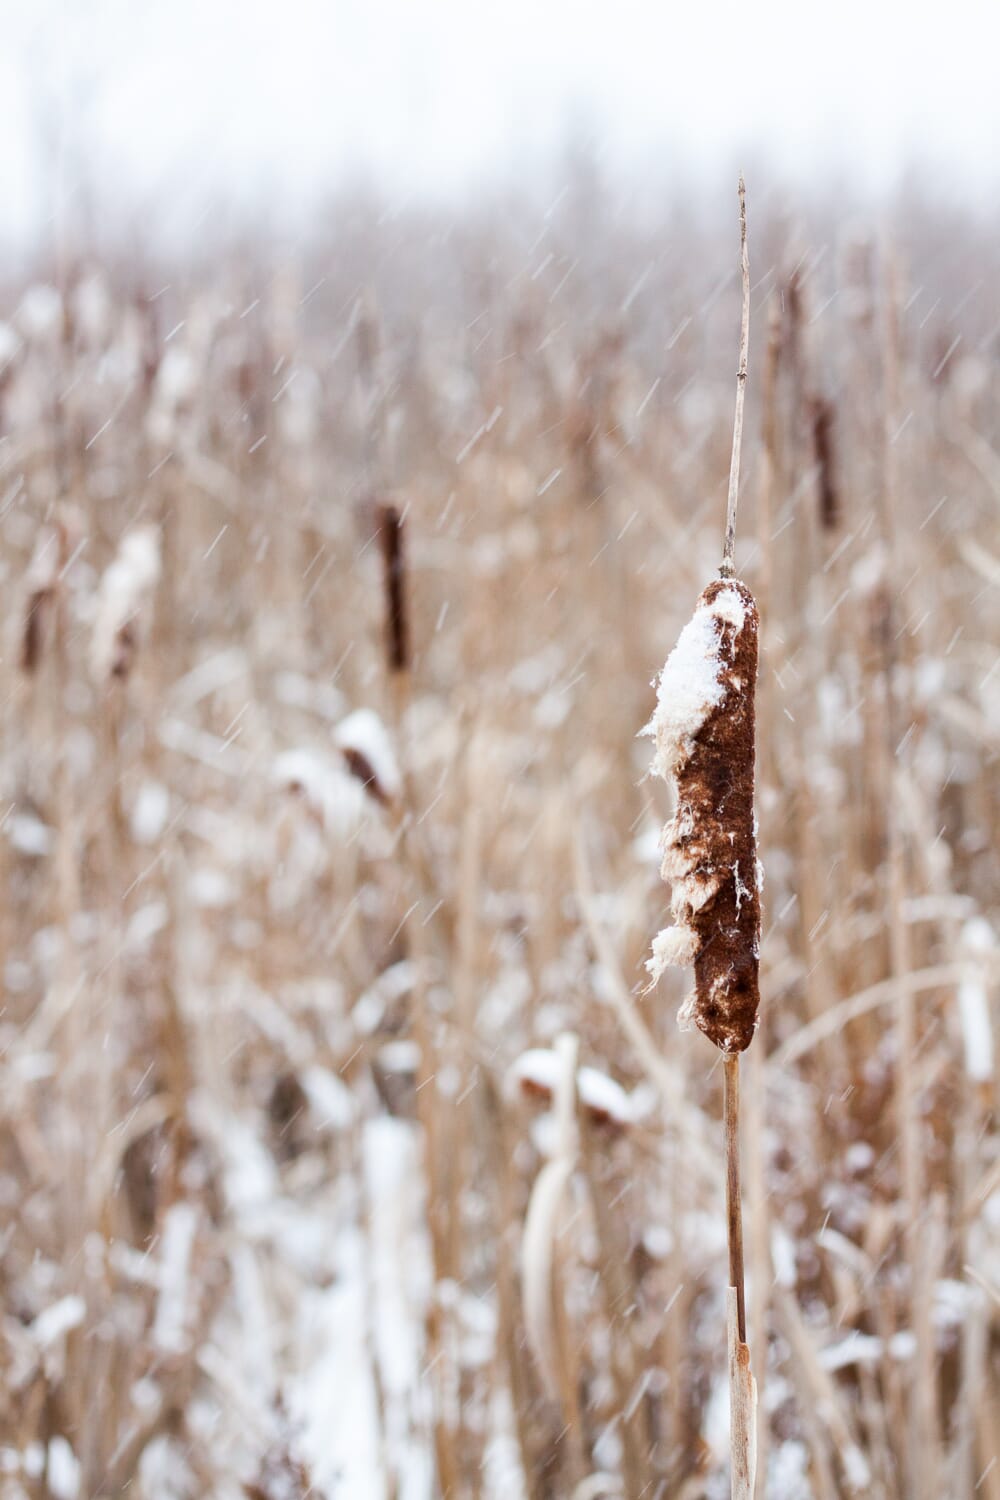
Or too dark, like this:

In addition to determining the overall exposure of a photo, all three settings have other “side” effects.
Now let’s take a look at each setting in turn, and how it can affect your photos:
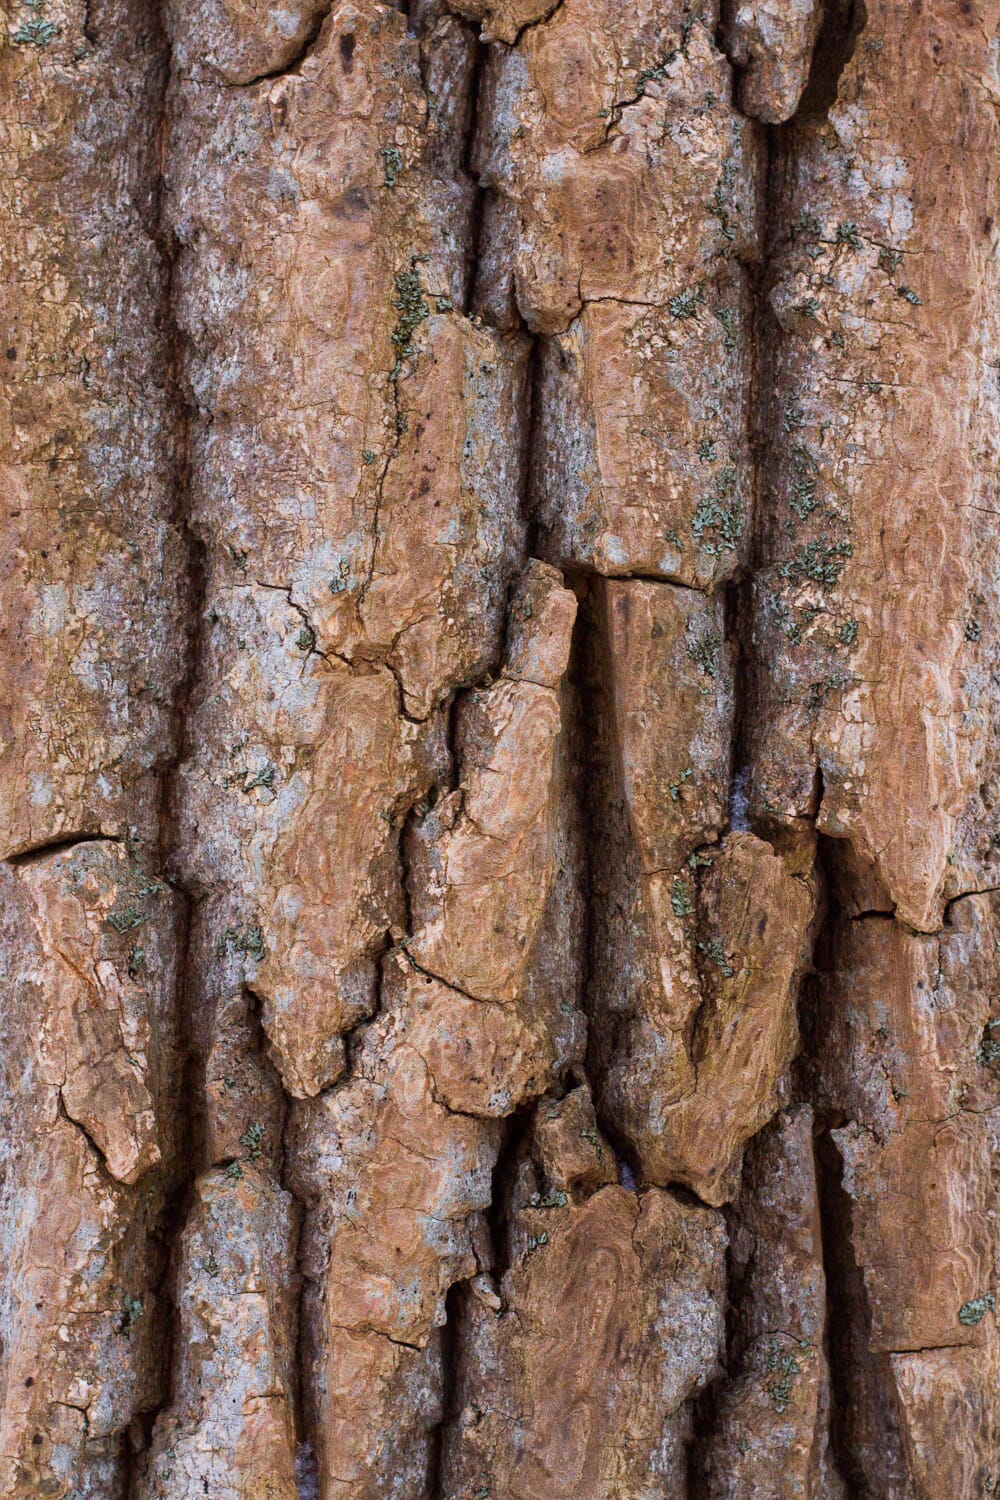
Aperture
The aperture refers to a diaphragm in your lens.
- The larger the diaphragm, the more light that hits the camera sensor.
- And the smaller the diaphgram, the less light that hits the camera sensor.
- So the wider the aperture, the brighter your photos.
- And the narrower the aperture, the darker your photos.
That’s the first affect that aperture will have on your images.

Now, aperture is referred to in terms of f-stops, or f-numbers, like this:
f/2.8, f/4, f/5.6, f/8, etc.
The smaller the number (e.g., f/2.8), the wider the aperture, and the brighter the resulting photo.
The higher the number (e.g., f/11), the narrower the aperture, and the darker the resulting photo.
Make sense?
So by choosing a smaller f-stop, you end up with a brighter photo, all else being equal.
(Things get a bit more complicated when you start throwing shutter speed and ISO into the mix, but we’ll leave that alone for now.)
Aperture also has a second affect on your images:
Depth of field.
This may sound complex, but don’t be intimidated; it’s actually pretty easy to understand. You see, depth of field is simply the amount of the photo that is sharp.
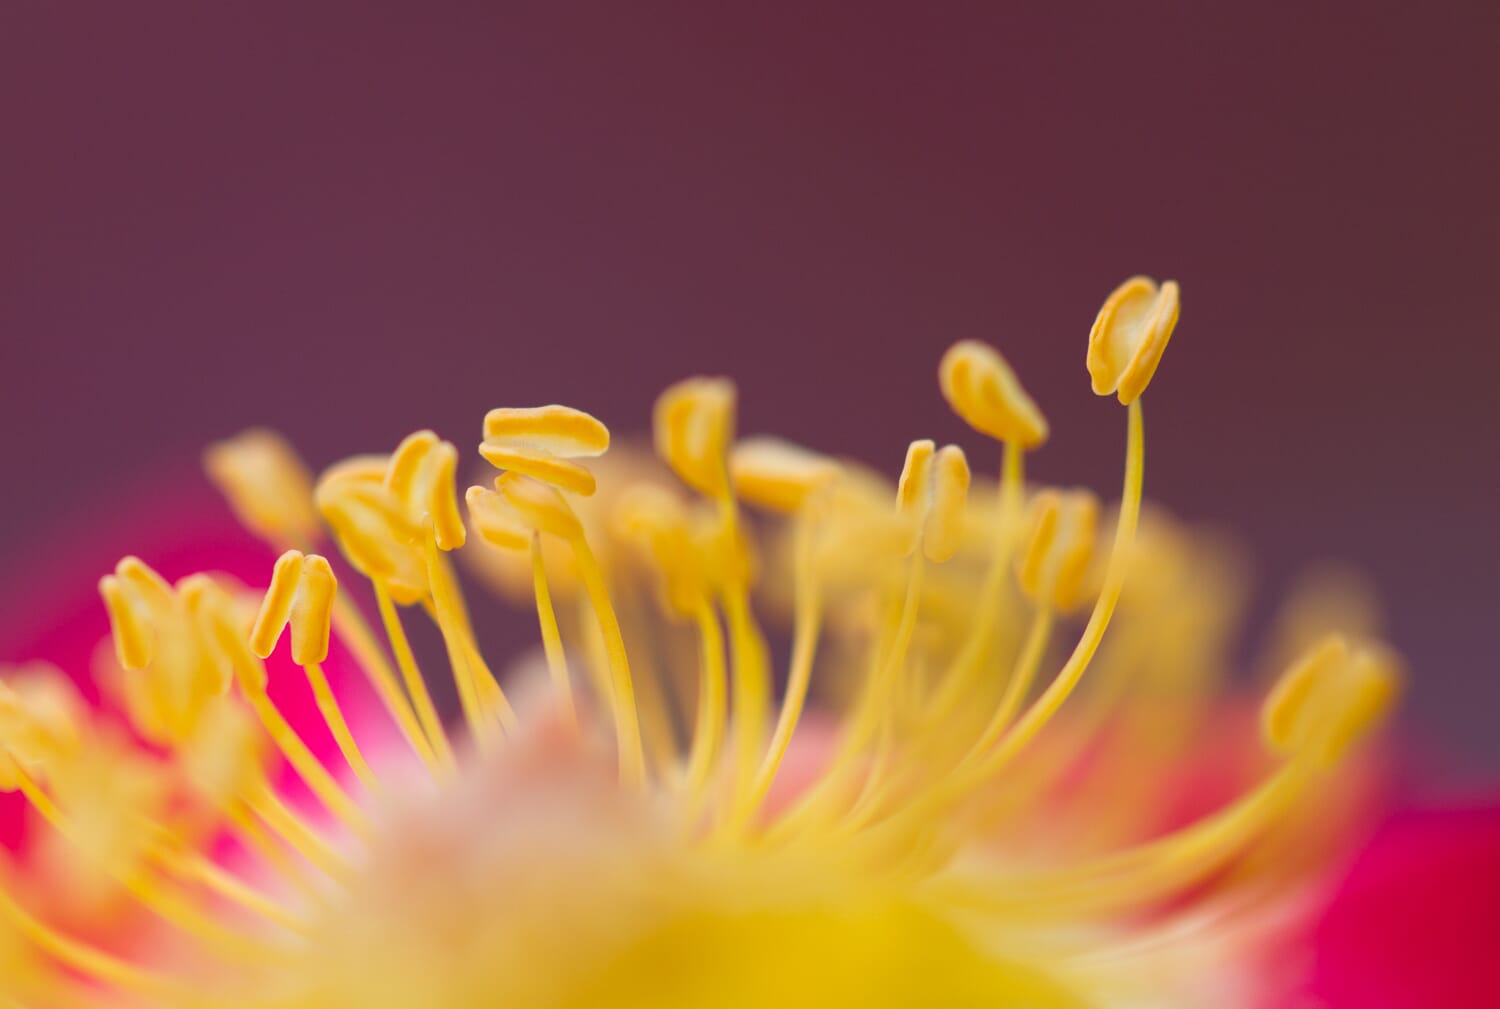
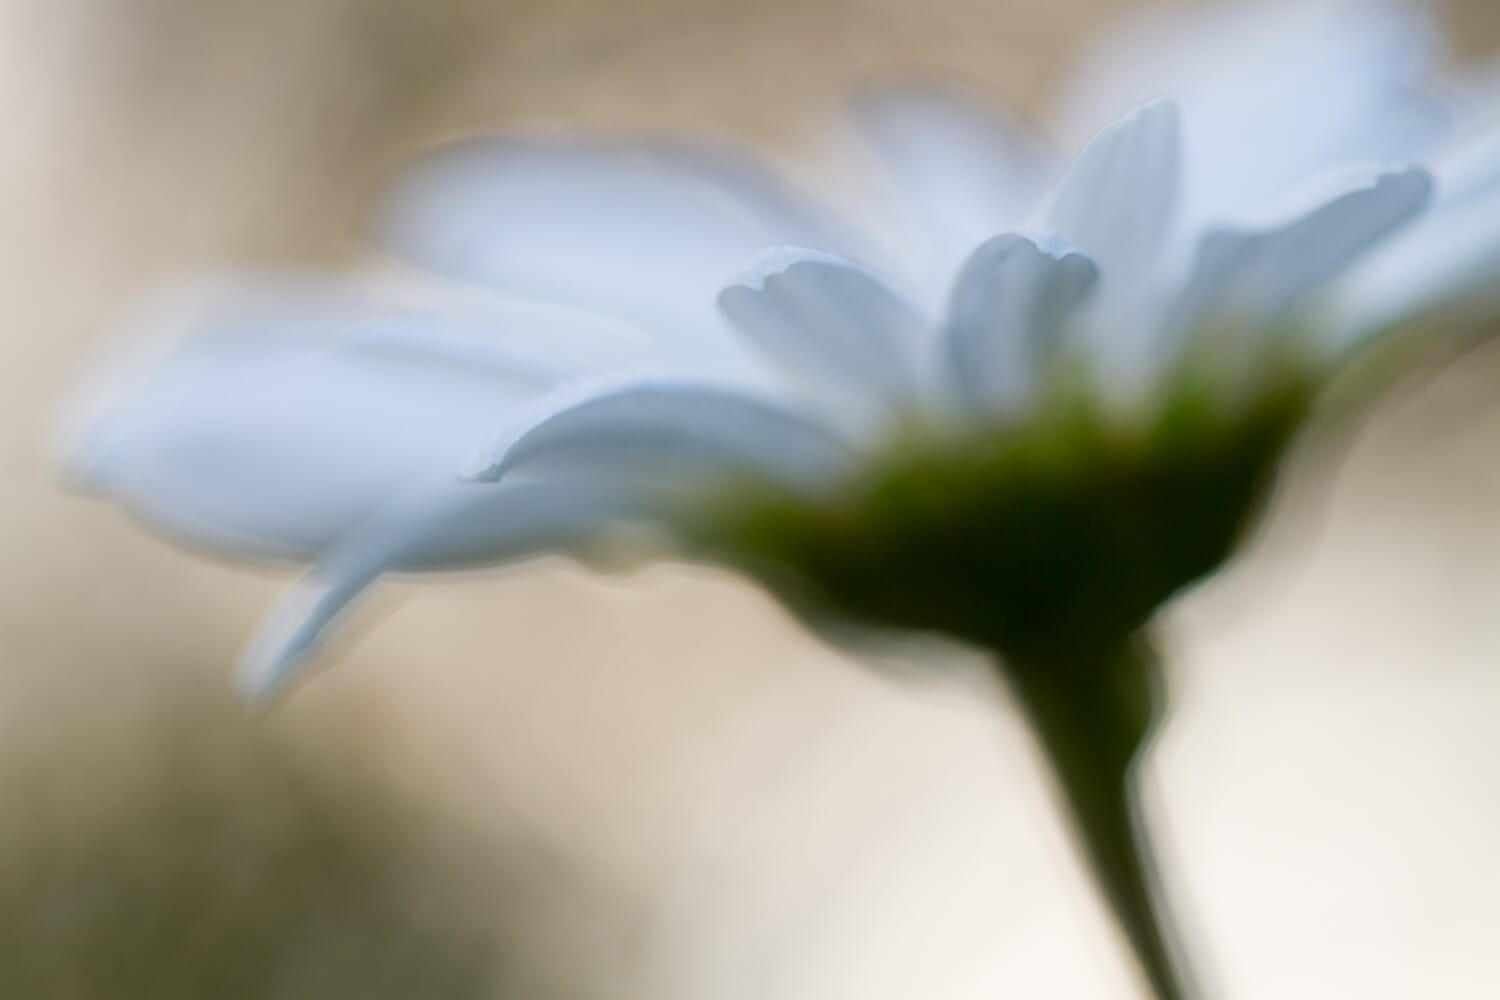
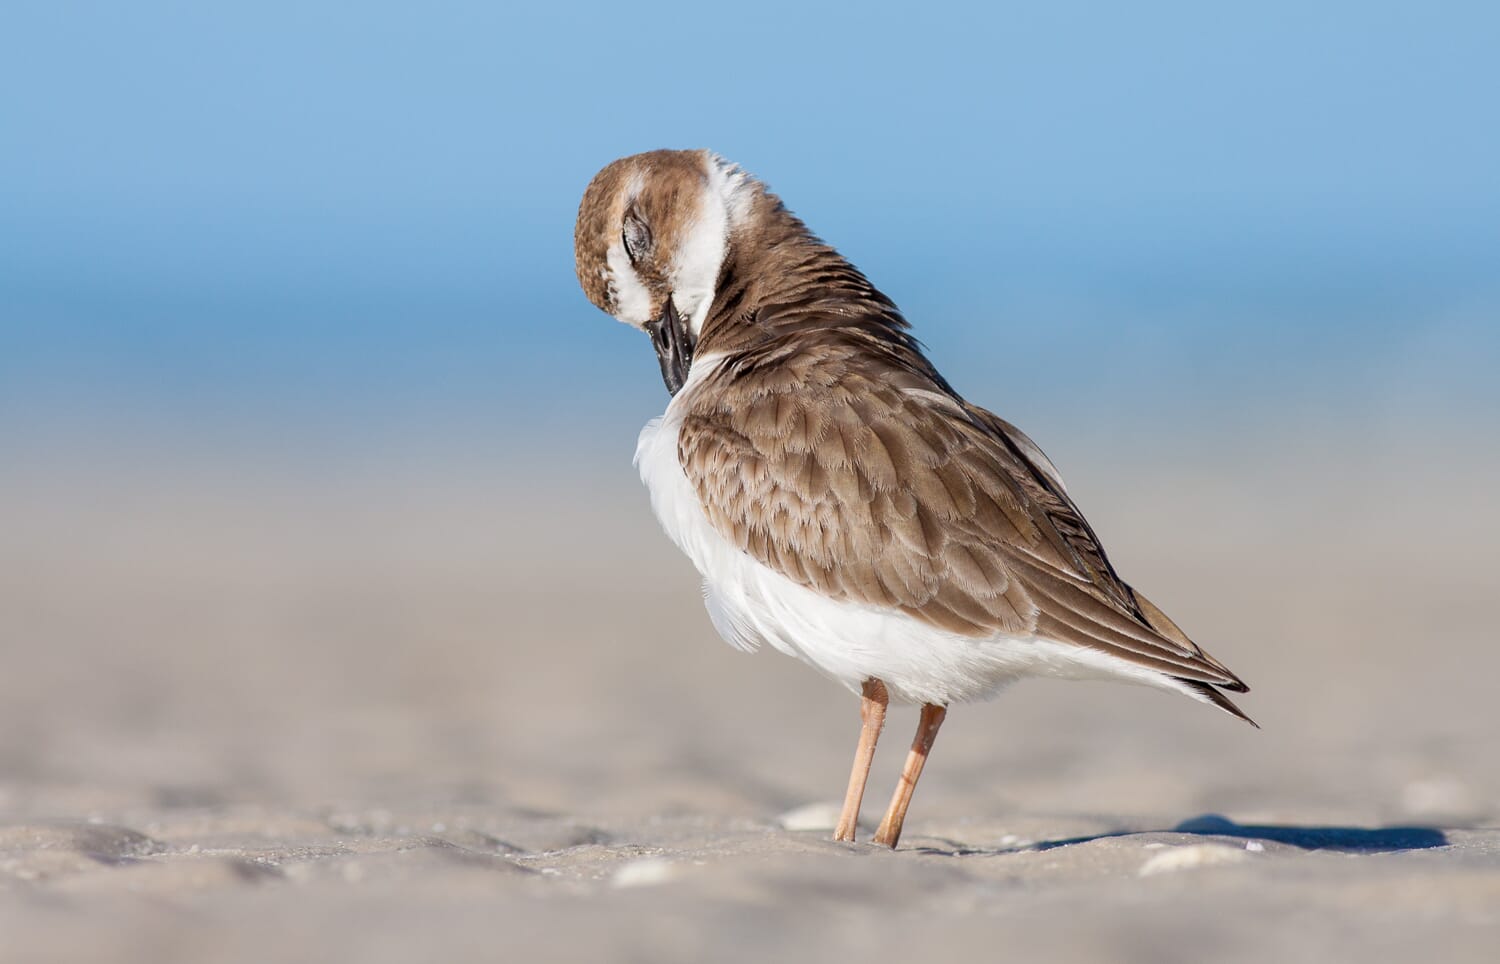
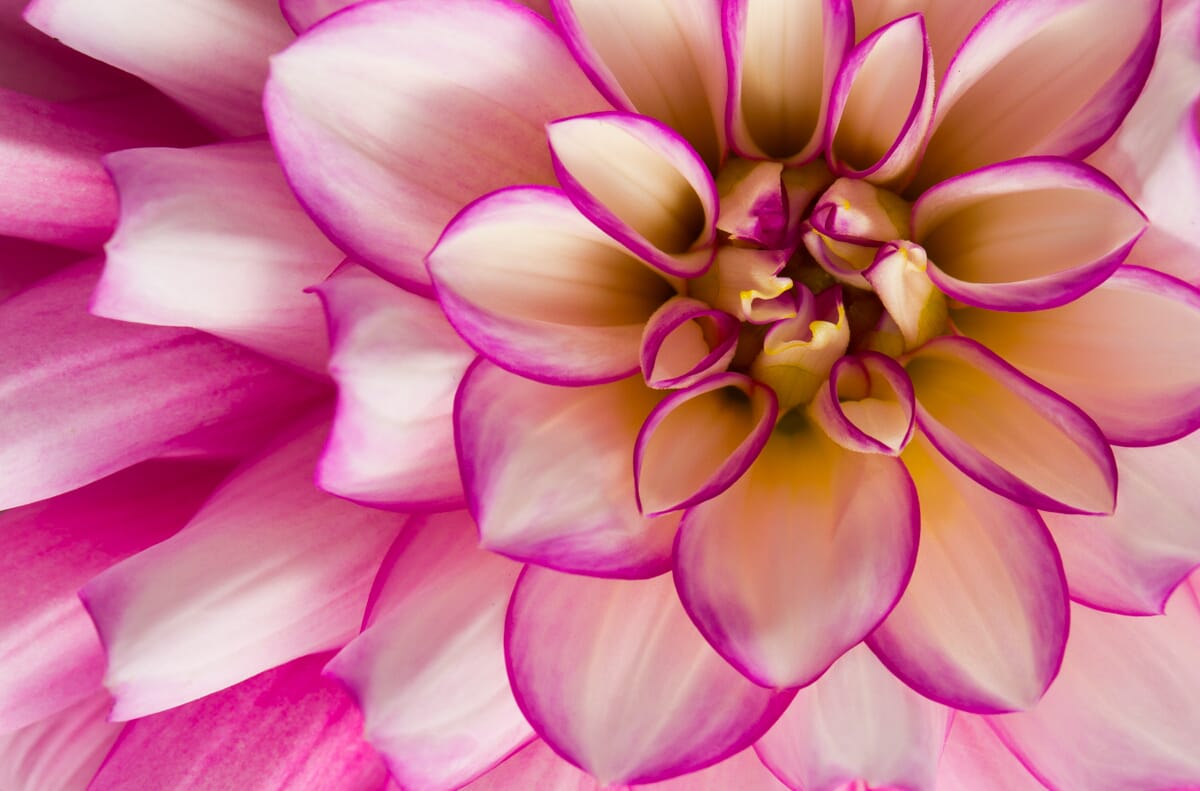
So a photo with a narrow depth of field has a sliver of the scene in focus, while the rest of the photo remains out of focus, like this:
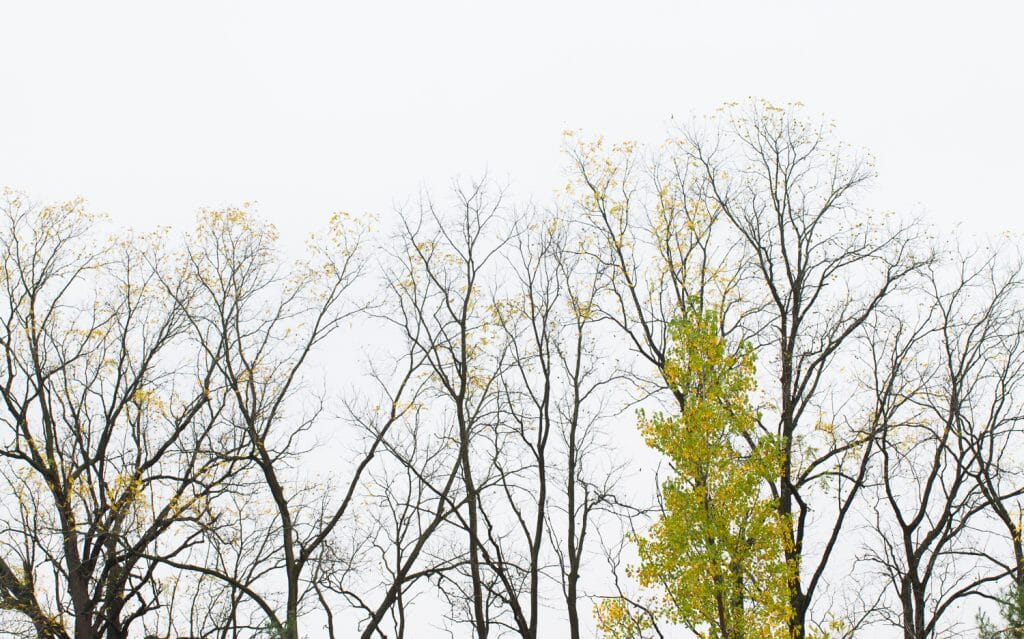
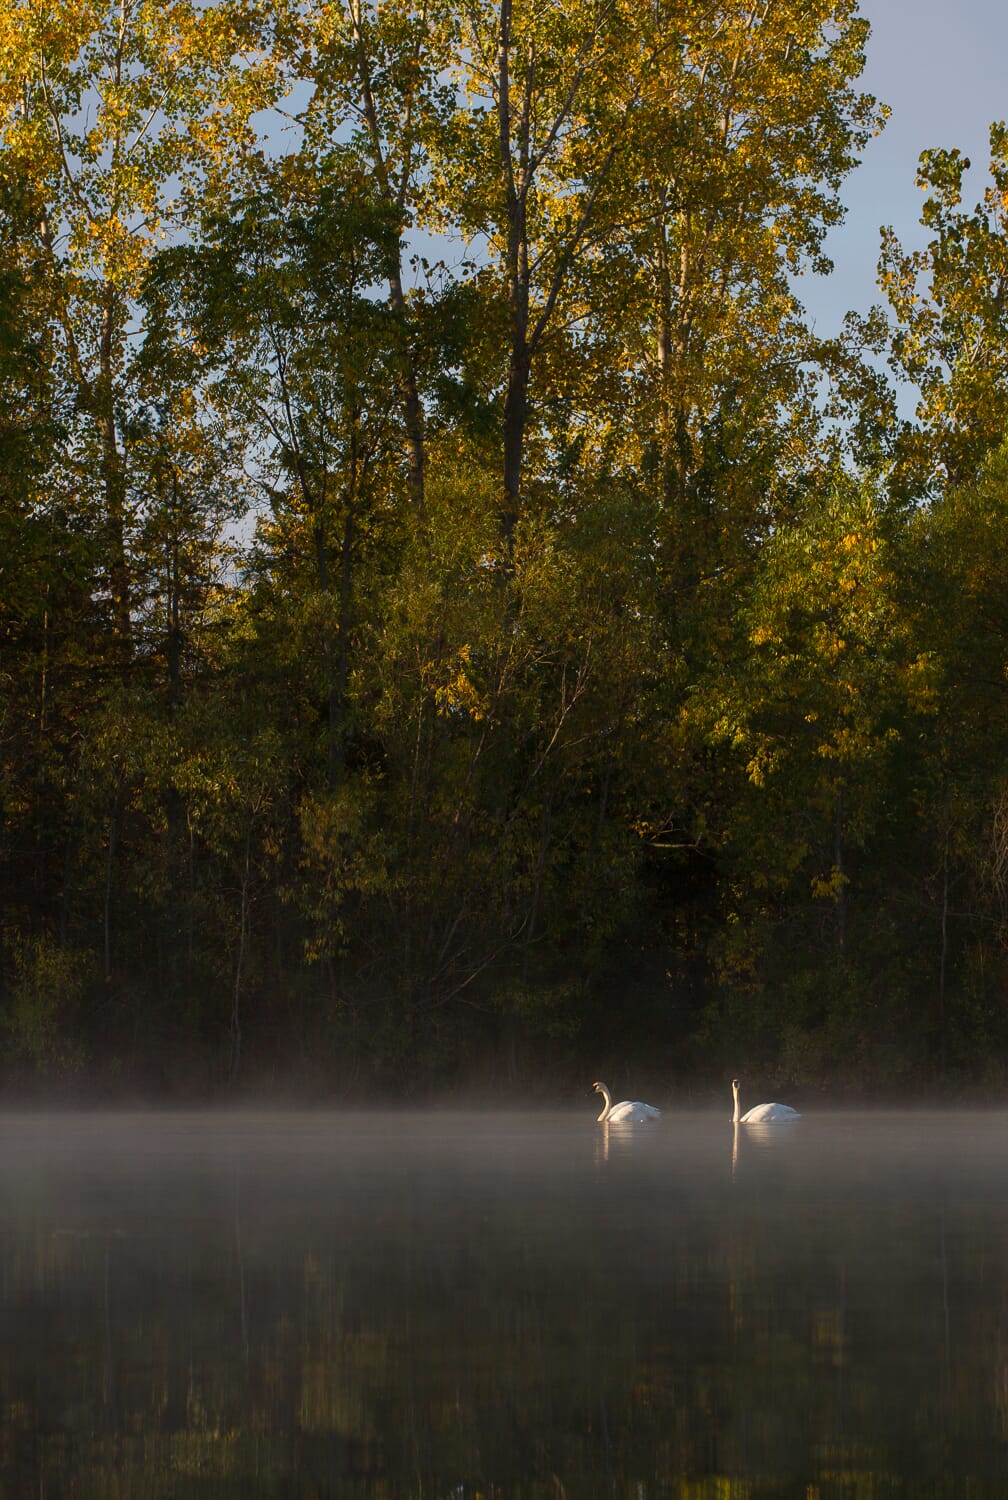
And a photo with a deep depth of field has the entire scene in focus, from front to back:
But how does this actually work with aperture?
Well, the smaller your f-number, the narrower your depth of field.
So a photo taken with an f-number of f/2.8 will look something like this:
Whereas a photo taken with an f-number of f/16 will look something like this:
There are plenty of other f-numbers/apertures, but these are just points along the spectrum from mostly blurry to sharp throughout.
See: Examples of Wide vs Narrow Aperture
Got it?
This is why aperture is such a cool setting, by the way. Sure, it allows you to adjust the exposure of your images, and that’s nice.
But it also allows you to change how much of the photo is in focus, which is great for creating different effects.
If you want a more modern, artistic look, which is very common in portrait photography and wildlife photography, you might use a wide aperture for a photo like this:
Whereas if you’re shooting a landscape or architectural photo, you’ll probably want to use a narrow aperture for a photo like this:

(That way, you can keep the viewer focused on the entire scene.)
And that’s why it’s often important to choose your aperture yourself. If you let your camera pick, it’ll sometimes do a good job–but it often won’t.
After all, how does your camera know what aperture works best for creative purposes? It doesn’t think about creativity at all, just exposure.
Now let’s take a look at the next key setting:
Shutter Speed
Shutter speed refers to the length of time the camera sensor is exposed to the light.
So if you dial in a slow shutter speed, the camera sensor will be exposed to the light for a longer period of time, and you’ll end up with a brighter photo.
And if you dial in a fast shutter speed, the camera sensor will be exposed to the light for less time, resulting in a darker photo.
That’s why shutter speed is written in terms of seconds, like this:
1/2s, 1/60s, 1/250s, 2s, 1/2000s, etc.
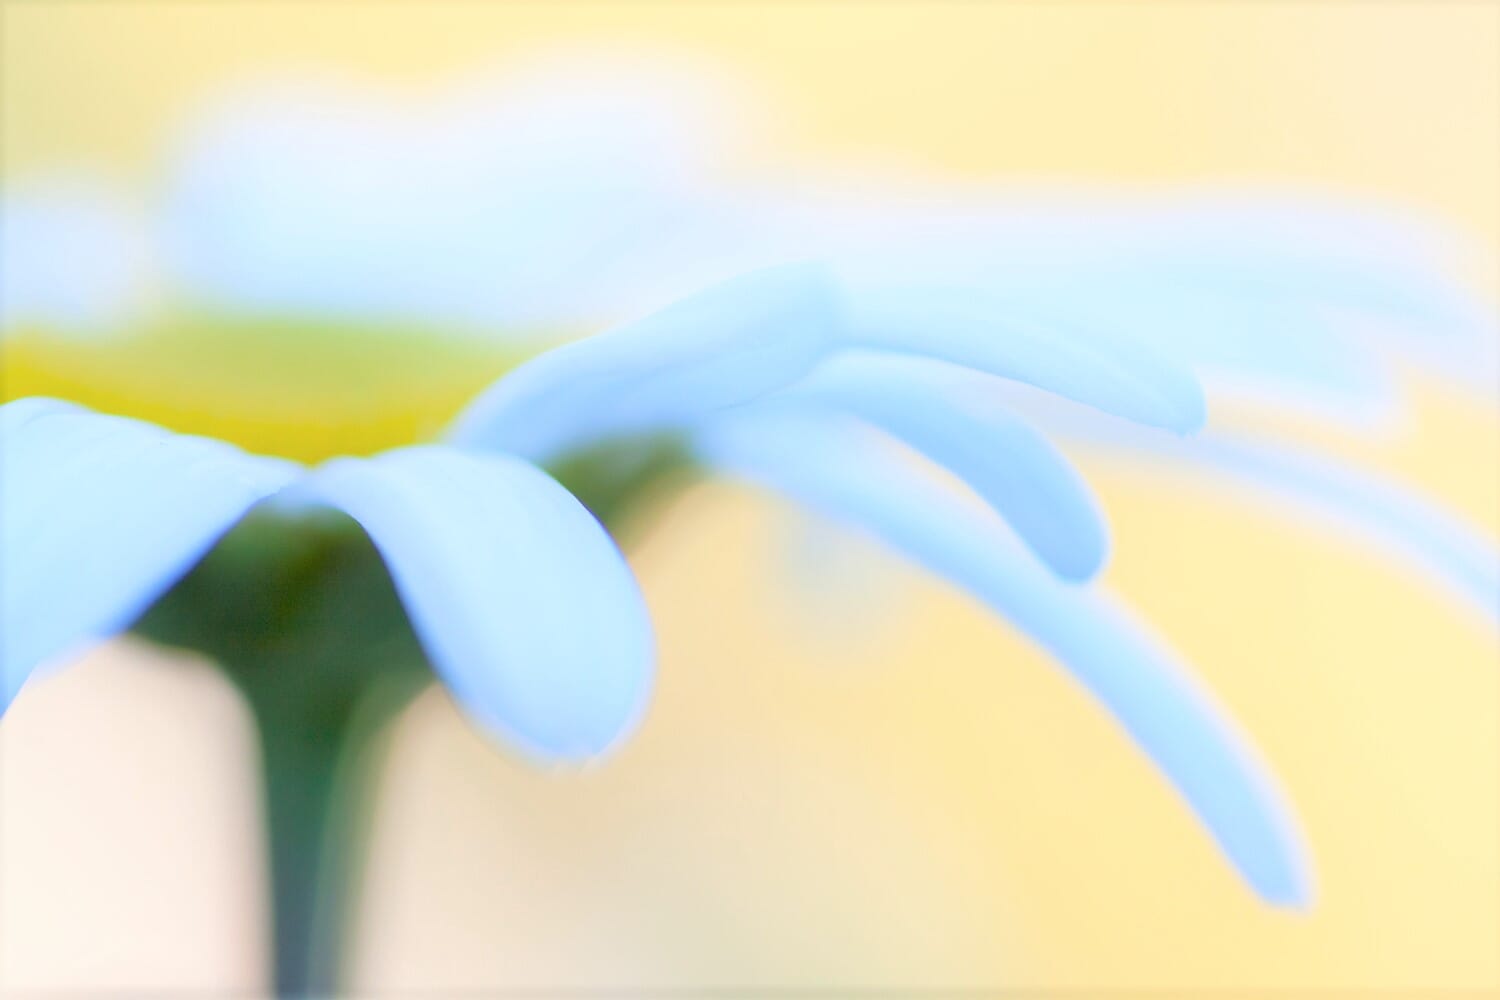
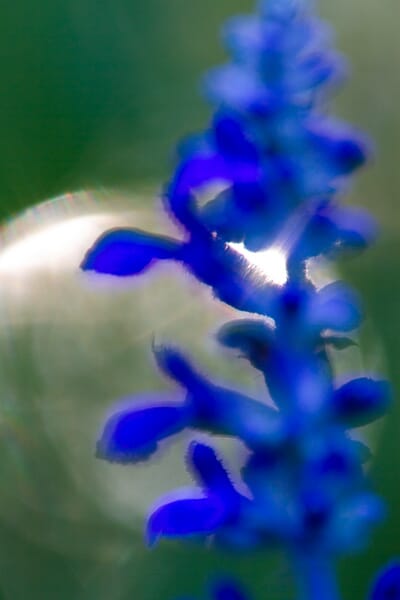
So, for a quick example, if I were to take a photo of a flower using a fast shutter speed (e.g., 1/500s), I might end up with something dark, like this:
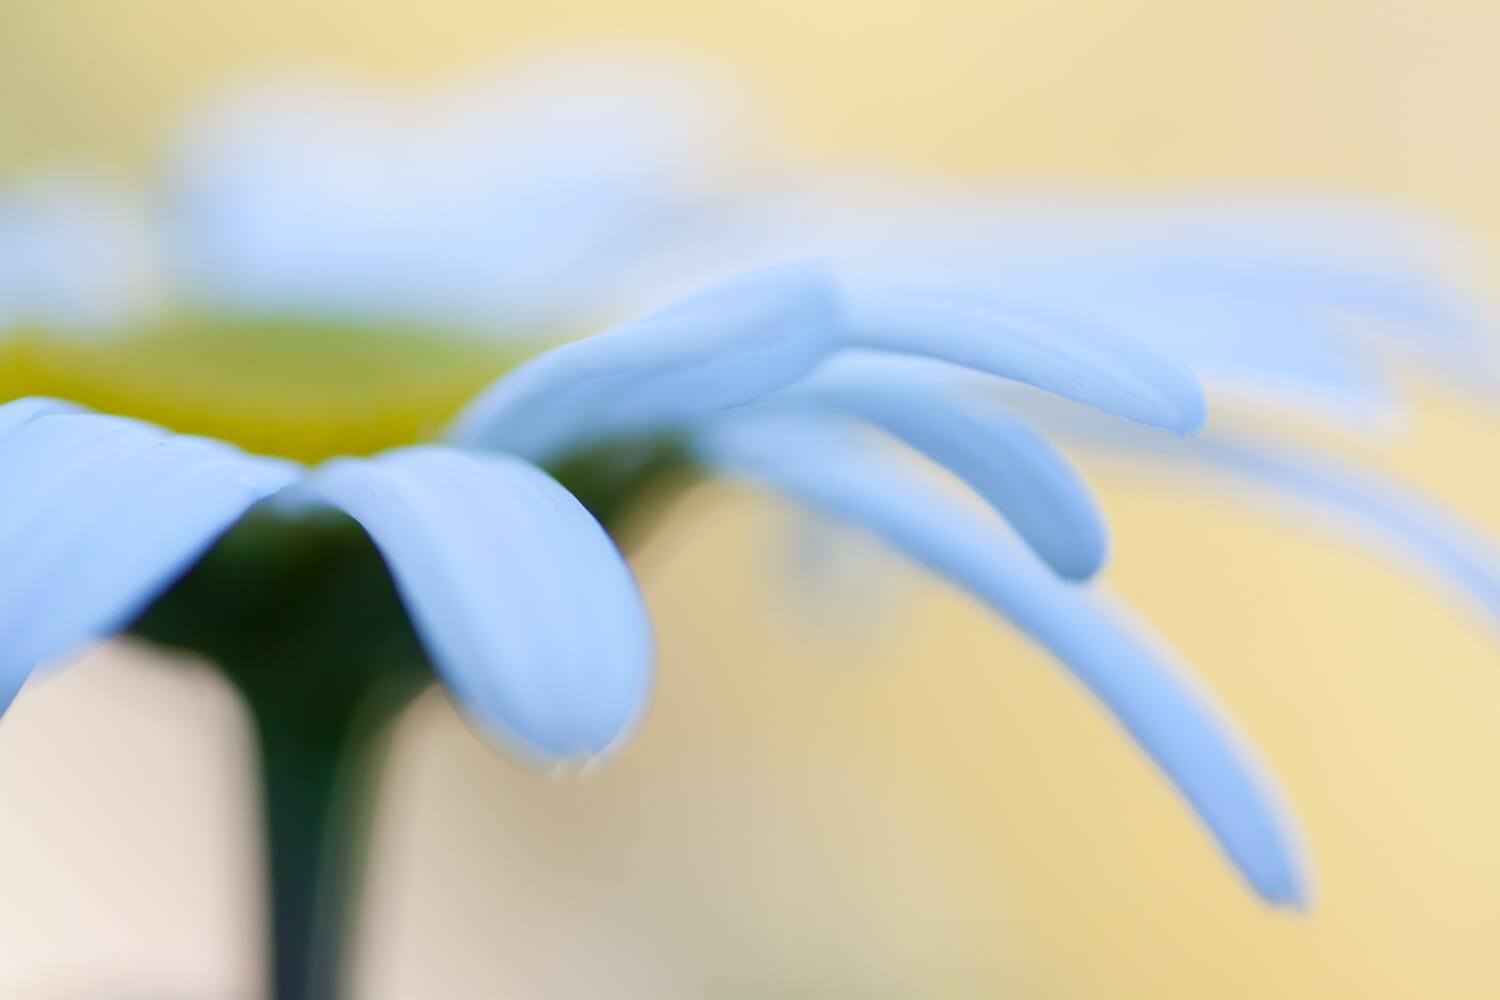
Whereas if I were to take a photo of the same flower, using a slow shutter speed (e.g., 1/125s), the shot would be a lot brighter, like this:
But your shutter speed doesn’t just influence a photo’s brightness.
It also helps determine how sharp your photos turn out.
You see, if you use a slow shutter speed, then your subject has time to move and your camera has time to shake.
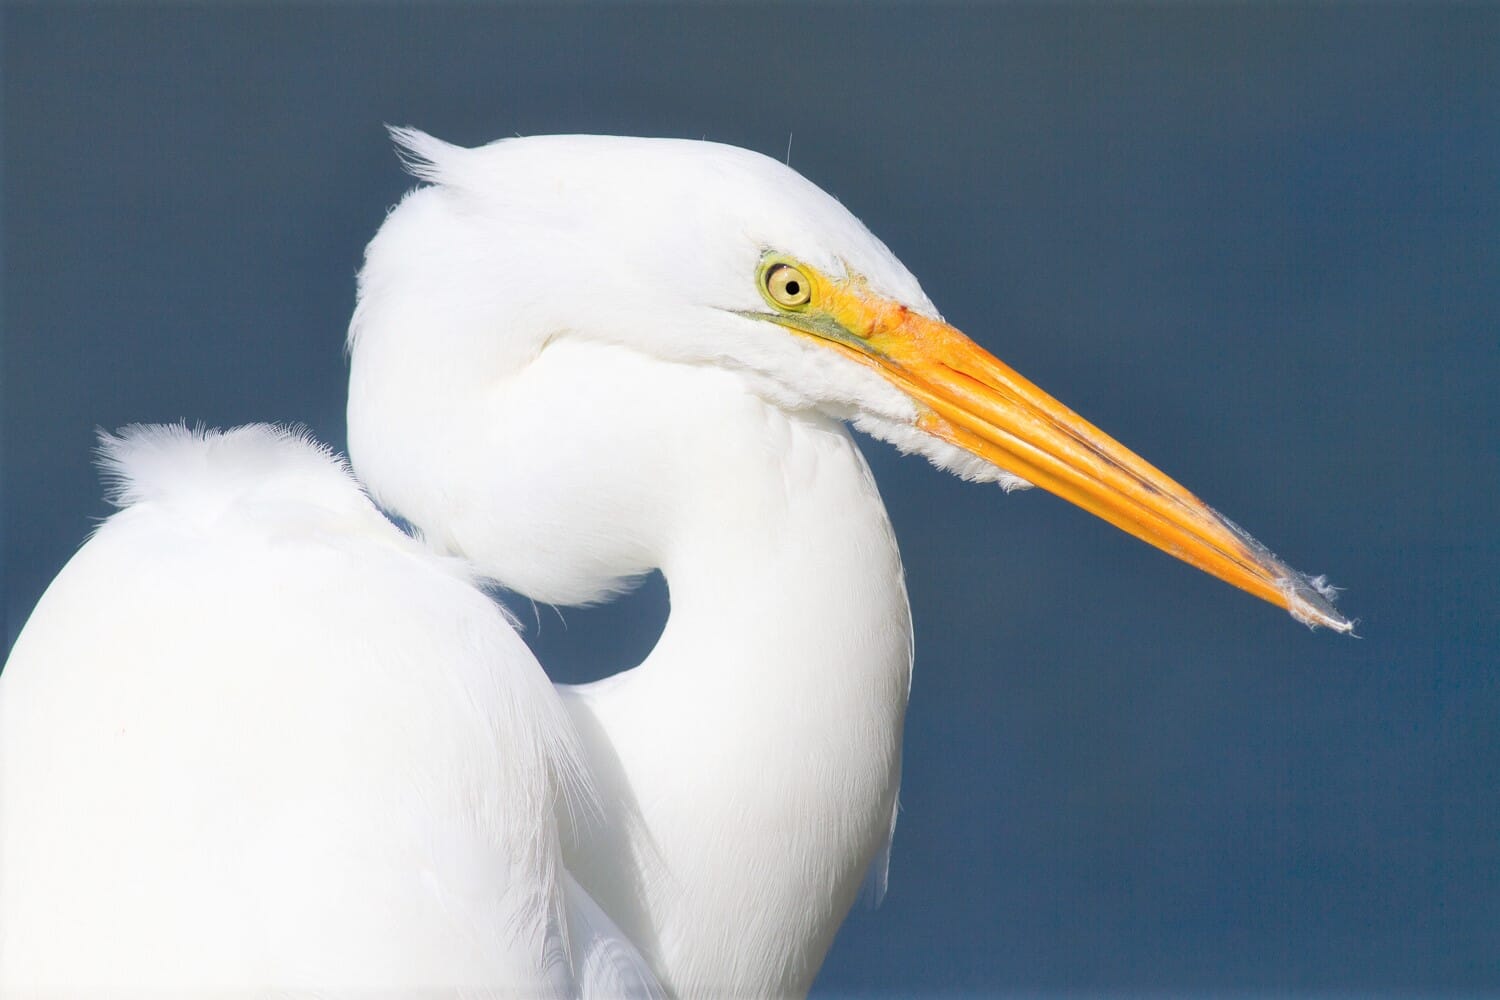
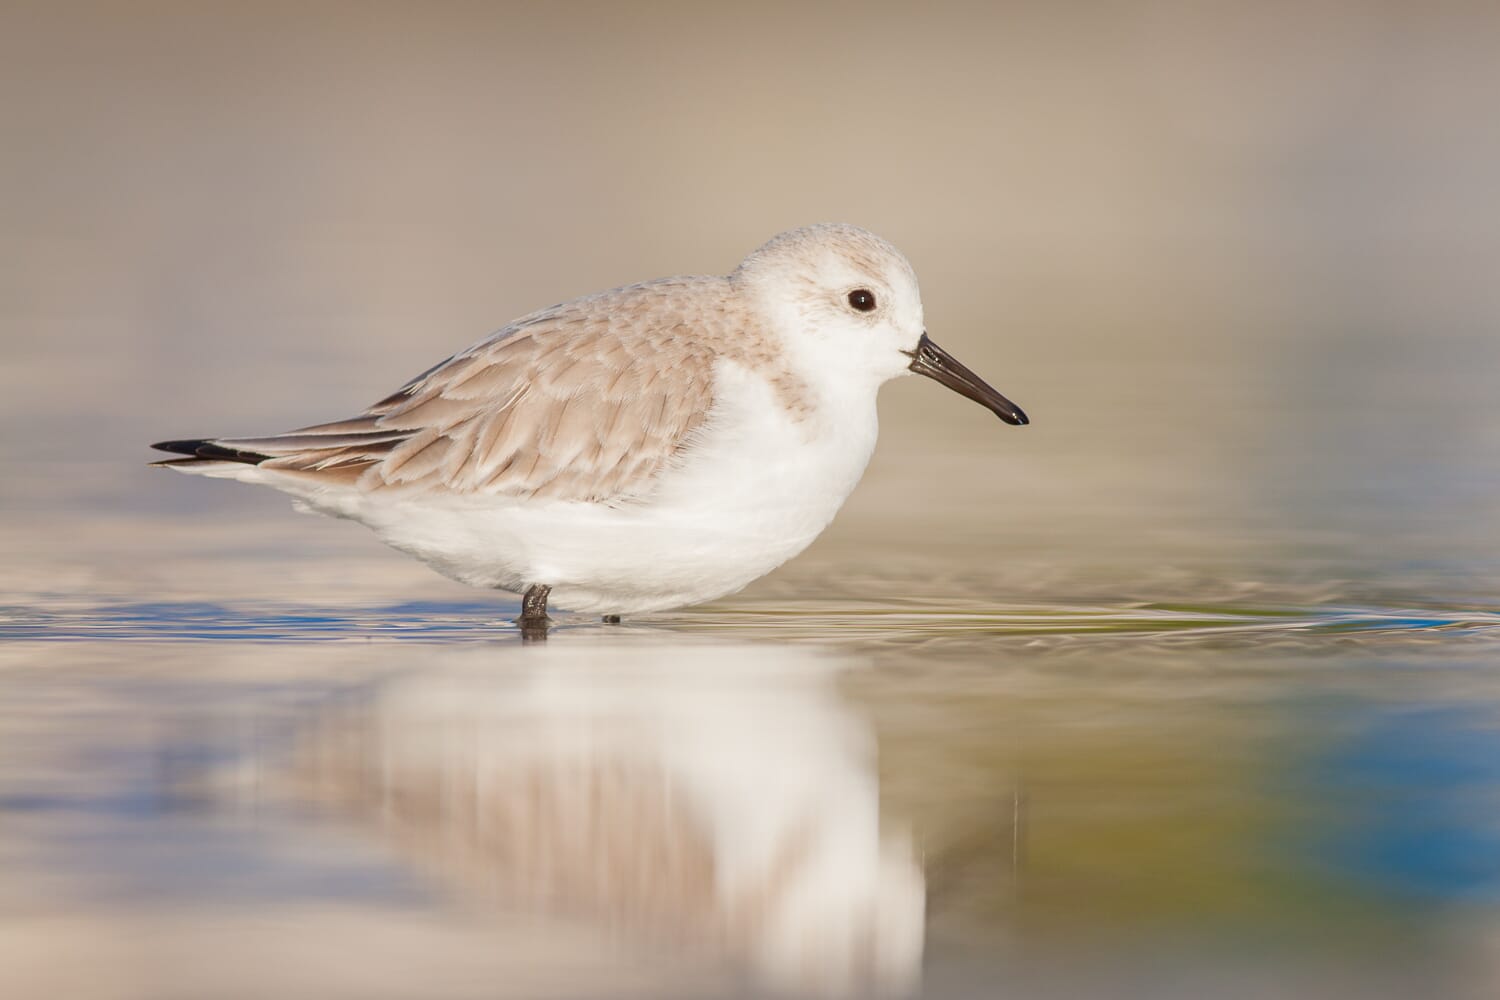
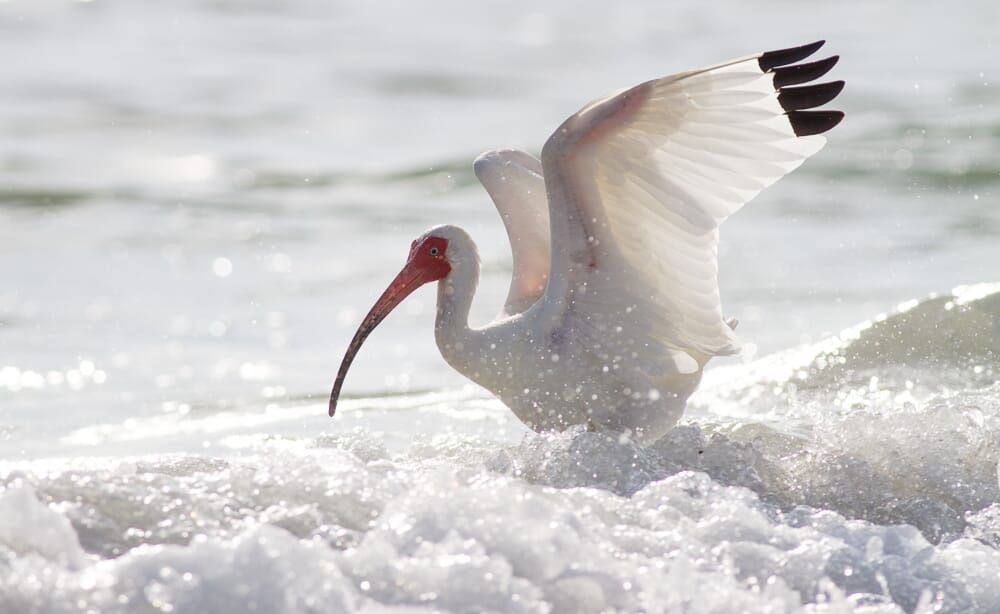
So a shutter speed that’s slower will result in a blurrier photo, whereas a shutter speed that’s faster will freeze the scene, resulting in a totally sharp shot:
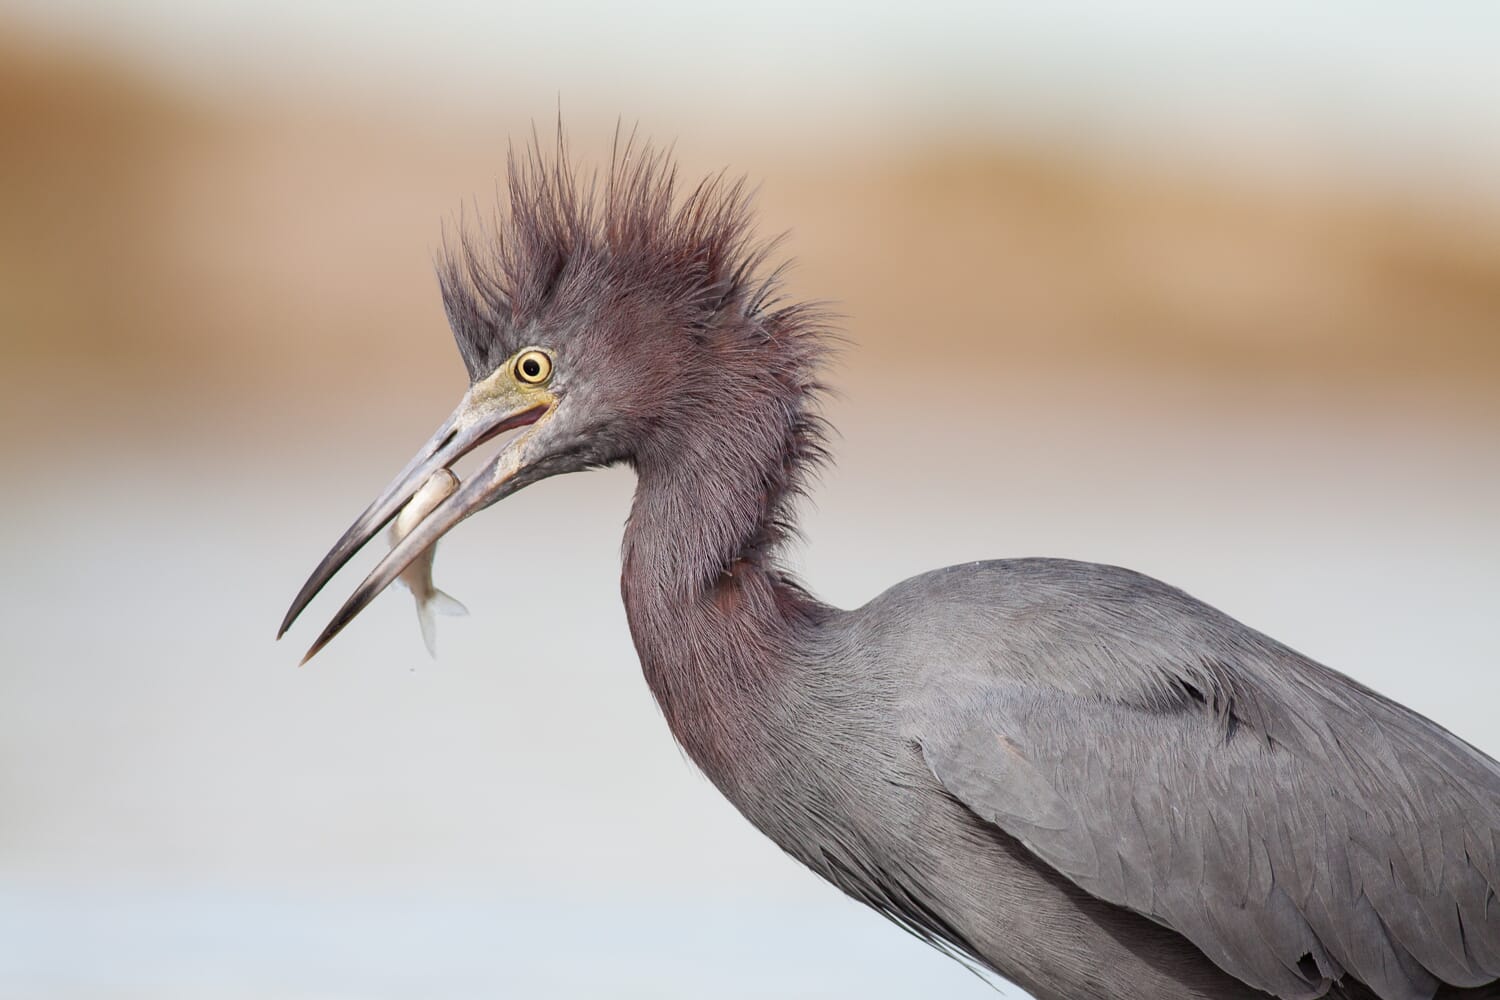
This is huge when you’re photographing fast-moving subjects, like birds in motion or football players running.
If you don’t use a fast shutter speed, then your images won’t turn out sharp–and, generally speaking, a blurry image is a bad image.
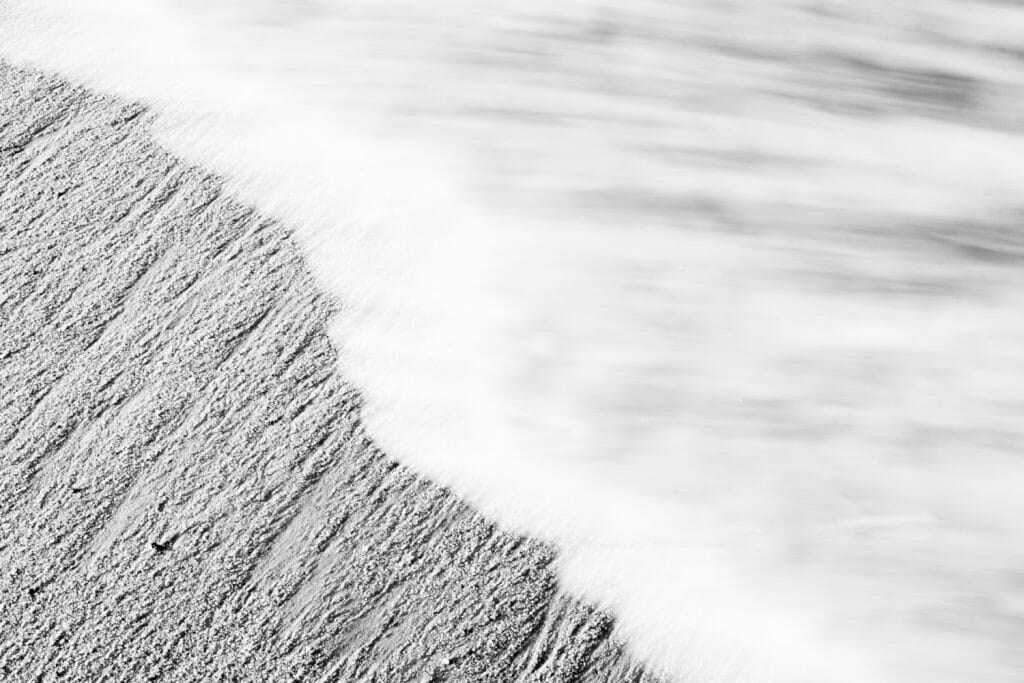
You can also use slower shutter speeds to achieve artistic blur effects, such as when photographing moving water:
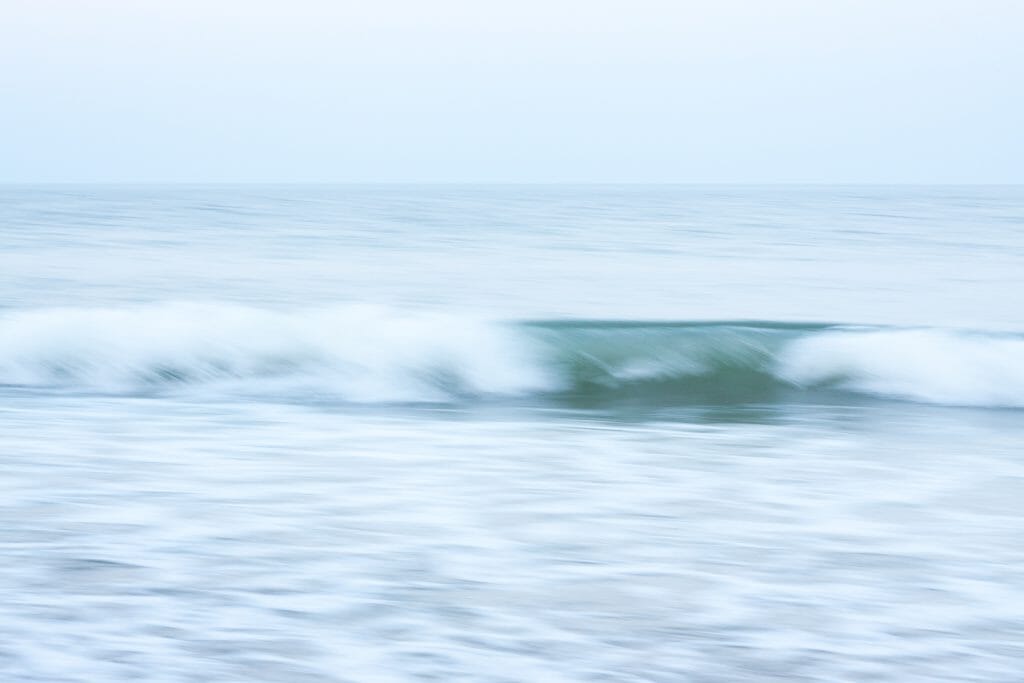
Which is why it’s often a good idea to carefully select your shutter speed via Manual mode, rather than leaving it up to the camera.
ISO
ISO is the last key setting you need to understand when using Manual mode.
It basically refers to an amplification setting–in other words, should your camera’s sensor try to make the photo brighter?
The higher the ISO, the more your camera amplifies the photo.
So an ISO of 100 will result in a photo like this:
Whereas an ISO of 400 will result in a photo like this:
Make sense?
But–as with aperture and shutter speed–ISO has a second effect.
The higher the ISO, the noisier your images become.
Noise refers to a grainy texture, like sand on your image.
And noise is pretty much always bad.
Which is why you can’t just boost the ISO of your photos willy-nilly. Instead, you have to think about the amount of noise you’ll be introducing–and only make the tradeoff if necessary (so that you can brighten the image for a well-exposed shot).
Putting It All Together: Exposure
I’ve talked about how aperture, shutter speed, and ISO determine your exposure.
But it’s important to remember:
They determine it by working together.
So you can end up with a too-bright photo by using a too-wide aperture, or a shutter speed that’s too slow, or an ISO that’s too high.
And you can end up with a too-dark photo by doing the exact opposite: narrowing your aperture, using a too-fast shutter speed, or a too-low ISO.
You can also compensate for a change in the ISO by changing your aperture, or a change in the aperture by changing the shutter speed.
In other words:
While you do have choose aperture, shutter speed, and ISO separately, you need to make sure you’re considering all the settings and their effects on the overall image.
How to Use Manual Mode for the Best Images
Manual mode allows you to control the aperture, the shutter speed, and the ISO.
And, as you now know, each of these settings adjusts the brightness of the scene, while also having some other effect (on photo sharpness, depth of field, and noise).
So once you switch over to Manual mode, you have control over every aspect of your image.
That’s a lot of power. And you have to be careful, because you don’t want to end up making a mistake and ruining your photos.
So you shouldn’t just randomly choose your settings and be done. Instead, consider every setting in turn to arrive at the perfect setup.
When you’re out in the field, here’s what I recommend you do:
First, ask yourself:
Which of the three key settings is the most important?
If you’re shooting a deep landscape that requires a certain aperture, then your aperture is probably going to be most important.
If you’re shooting a sports game that requires a certain shutter speed to freeze the players, then your shutter speed is probably going to be most important.
It’s rare that ISO will be your most important setting, which is why I recommend you leave it for later.
Then, once you’ve determined which setting matters the most…
…set that first.
Next, look at your other two settings.
These should be aperture and ISO, or shutter speed and ISO.
In cases with aperture and ISO, set your aperture to the lowest value you can afford (so that you keep your main subject in focus).
In cases with shutter speed and ISO, set your shutter speed to the lowest value you can afford (so that your image has no motion blur or visible camera shake).
At this point, you’ll have your aperture and your shutter speed set.
So dial in your camera’s native ISO–which is usually ISO 100, but might be ISO 160 or ISO 200.
Then look at your camera’s exposure bar.
(This will sit under the image screen in the viewfinder.)
If your shot is too dark, the exposure bar will indicate that you need to brighten it.
In this case, you’ll want to raise your ISO until the exposure bar indicates that you’ve nailed the exposure.
(If you raise it too much, you’ll start to see a lot of noise. So see if you can widen your aperture or drop your shutter speed to brighten the image, instead.)
Whereas if your shot is too bright, the exposure bar will indicate that you need to darken it.
And in this case, you’ll want to keep your ISO at its native setting, and raise the shutter speed or narrow the aperture until the exposure is just right.
Does this make sense?
To recap:
First dial in your most important setting.
Then choose your shutter speed or aperture (whichever remains).
Third, set your ISO to 100.
Then look at the exposure bar. Boost your ISO if the exposure is too dark, and boost your shutter speed or narrow your aperture if the exposure is too bright.
Do all this, and you’ll end up with a very well-exposed photo.
When Should You Use Manual Mode?
Most beginners think that the pros use Manual mode all the time.
But this isn’t actually true.
Manual mode is great for taking control of all your camera settings, but it’s slightly slower than using a mode such as Aperture Priority or Shutter Priority.
After all, it takes time to choose all your settings–and when the light is changing quickly, you may not have time to alter your shutter speed, aperture, or ISO. You may need to fire off shots ASAP.
That’s why I recommend you only use Manual mode in some situations.
Specifically:
- When you want to carefully choose all your camera settings and you’re working in slower-paced shooting scenarios (e.g., you’re a landscape photographer), or:
- When you’re photographing a subject that’s in unchanging lighting (e.g., when shooting portraits and your subject is lit by flashes)
Otherwise, Manual mode might not be the right choice.
Manual Mode in Photography: The Next Step
Now that you’re familiar with Manual mode, you’ll be able to confidently take control of your camera’s key settings.
And this will be a huge benefit in practical situations.
So start practicing with Manual mode.
You’ll get really, really good at it before long!
What is Manual mode?
Manual mode is a basic camera mode that allows you to control your aperture, shutter speed, and ISO independently. In other words, you can choose your aperture, then your shutter speed, then your ISO however you like, without being limited by your camera’s automatic settings.
Who should use Manual mode?
I recommend Manual mode to all photographers in certain situations: When you’re photographing in conditions with unchanging light, or when you’re working in slow-paced genres such as landscape or macro photography. If you’re a beginner, then Manual mode may seem daunting–but it’s actually pretty easy to get the hang of, once you understand a few simple settings.
Is Manual mode difficult to use?
Nope! Manual mode is pretty easy to use; you just have to be familiar with the basics of aperture, shutter speed, and ISO, and you’ll be on your way. But bear in mind that you don’t want to use Manual mode for every situation, because it is slower than Aperture Priority mode and Shutter Priority mode.