Do you want to capture amazing photos using exposure bracketing techniques, but you’re just not sure how?
You’re not alone.
That’s why we wrote this article, which will tell you everything you need to know about exposure bracketing, and how it can be used for amazing high dynamic range photos.
You’ll come away with the ability to create beautifully-bracketed images wherever you go and no matter your subject matter.
And it’ll instantly take your photos to the next level. I guarantee it.
What Is Exposure Bracketing?
Exposure bracketing refers to a technique for dealing with high dynamic range scenes.
Let me explain:
When your eyes take in a scene, they’re amazing at capturing every tone in the scene, from the lights to the darks to the midtones.
So if you look at a sunset from a beach, you can see the bright reds and yellows and oranges in the sky.
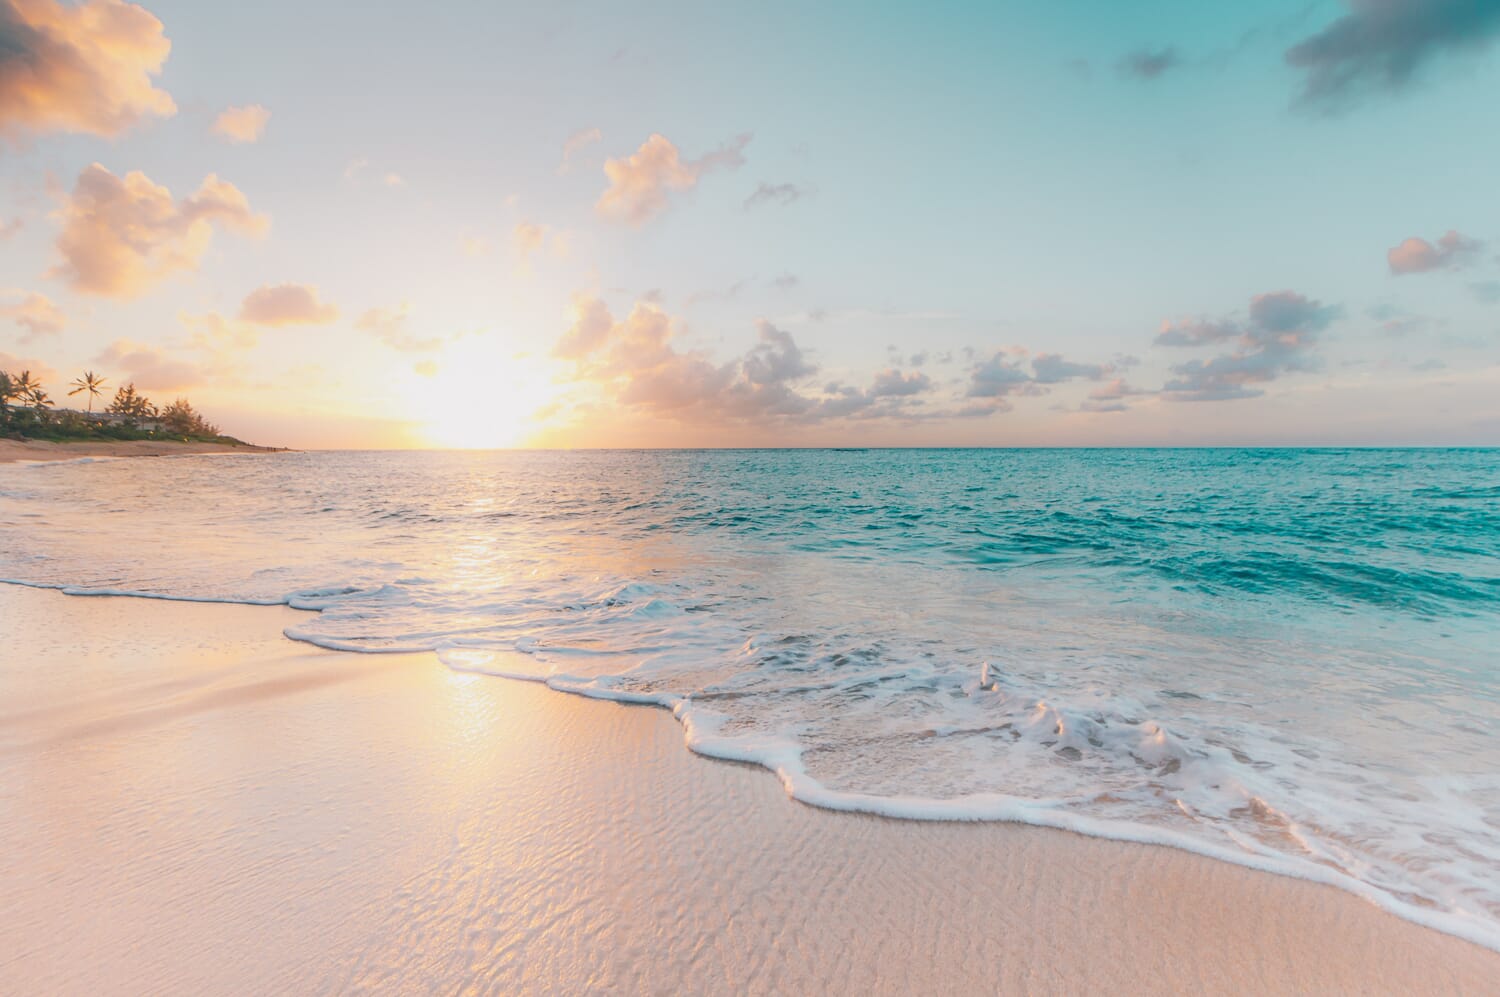
But you can also see the beautiful sand and the rushing waves in the foreground.
Your camera, on the other hand, can’t see all this–at least, not very well.
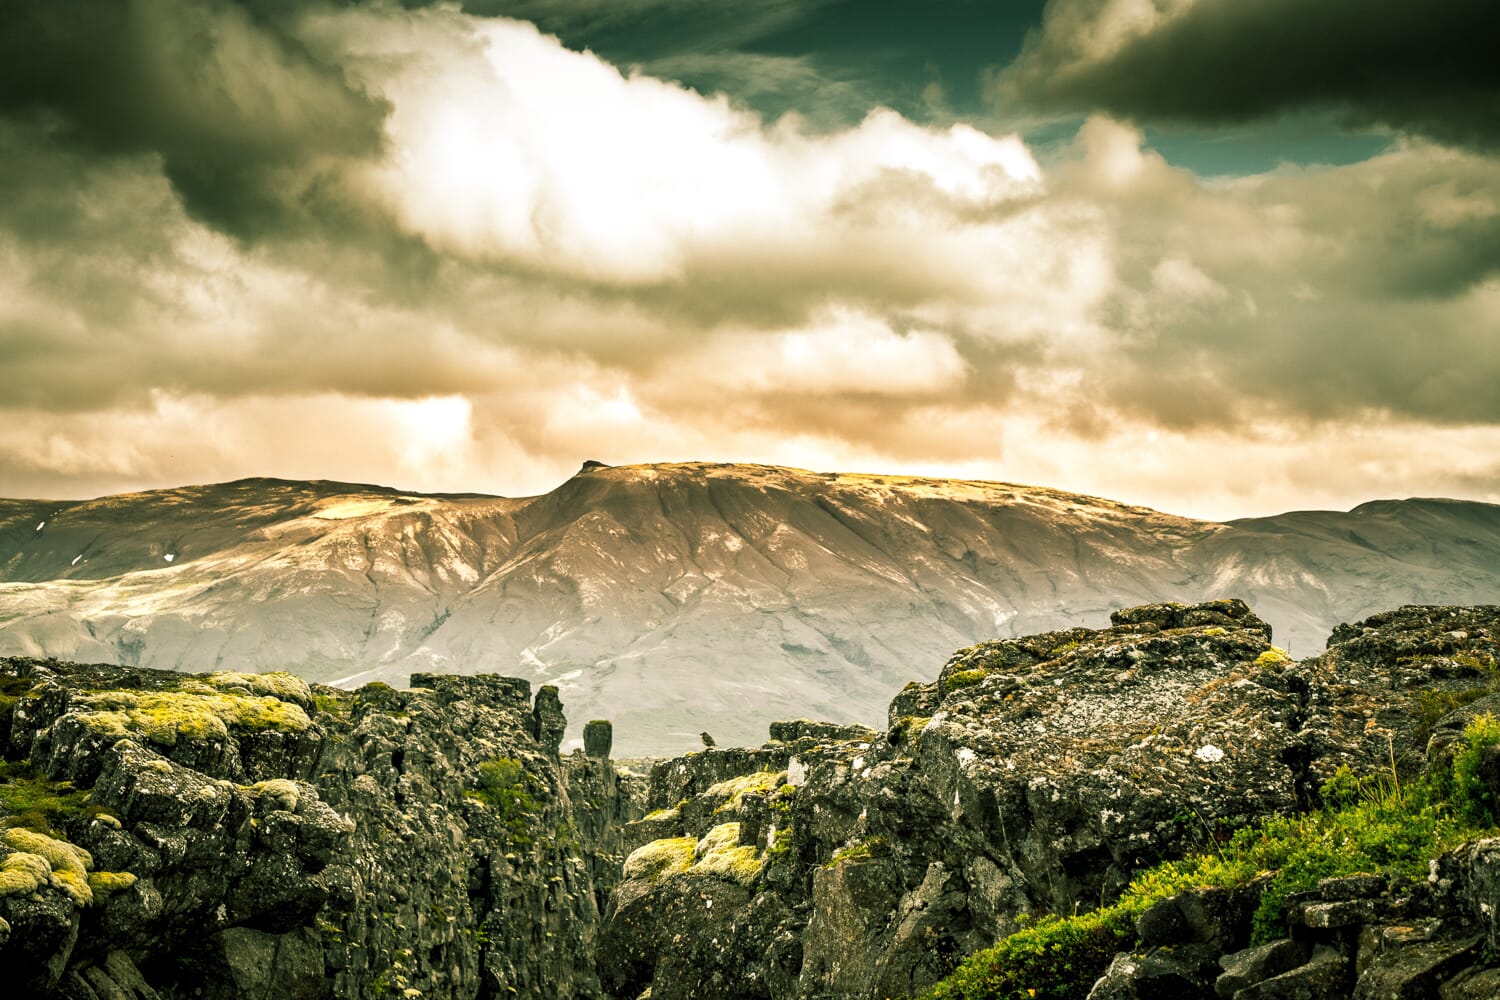
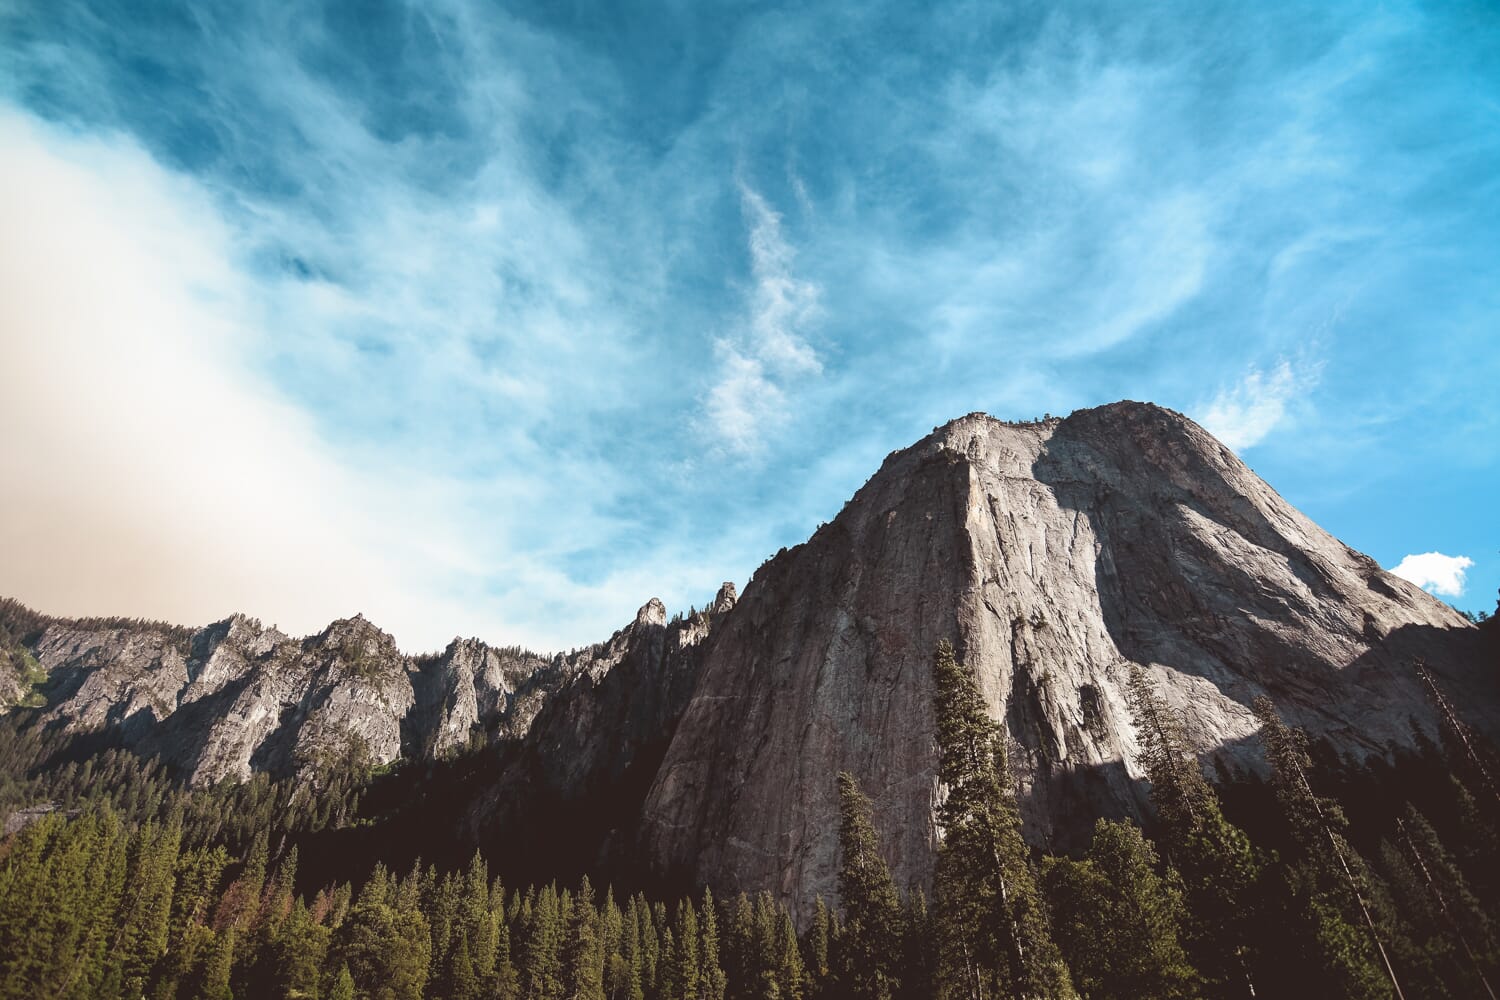
Your camera has limited ability to capture high dynamic range scenes. I’m talking about scenes with very bright areas and very dark areas, such as my sunset example above.
If you train your camera on a sunset, it’ll often turn the foreground completely black (though the sunset itself will be well-exposed).
Or it’ll overexpose the sunset, blowing out all the colors in the sky, but giving you a nice looking foreground.
For a long time, there was no easy way around this issue. If a photographer wanted to shoot a photo with spots of bright whites and dark blacks, they had to choose between overexposure or underexposure.
The one exception was landscape photography, where graduated neutral density filters allowed shooters to selectively darken the top half of the scene, resulting in a lower dynamic range capture.
But using neutral density filters isn’t entirely effective, and it’s cumbersome, plus it can be very, very expensive.
Which is why photographers more recently came up with a method called exposure bracketing.
The basic idea is that you take several images, all exposed for different areas of the frame. So for a sunset photo, you might capture a single shot that’s exposed for the foreground, a single shot that’s exposed for the sky, and a single shot that’s exposed for a midtone area in the image.
Then you combine all three of these photos in post-processing, giving you the most possible detail. With your now-combined HDR image, you’re free to bring detail into the sky and detail into the foreground, without sacrificing the whites or the blacks.
When to Use Bracketing Techniques
Now that you understand the basics of exposure bracketing, it’s time to answer a key question:
When is bracketing actually useful?
Well, as I explained above, landscape photographers use it all the time–in order to deal with major differences in the brightness between foreground and sky.
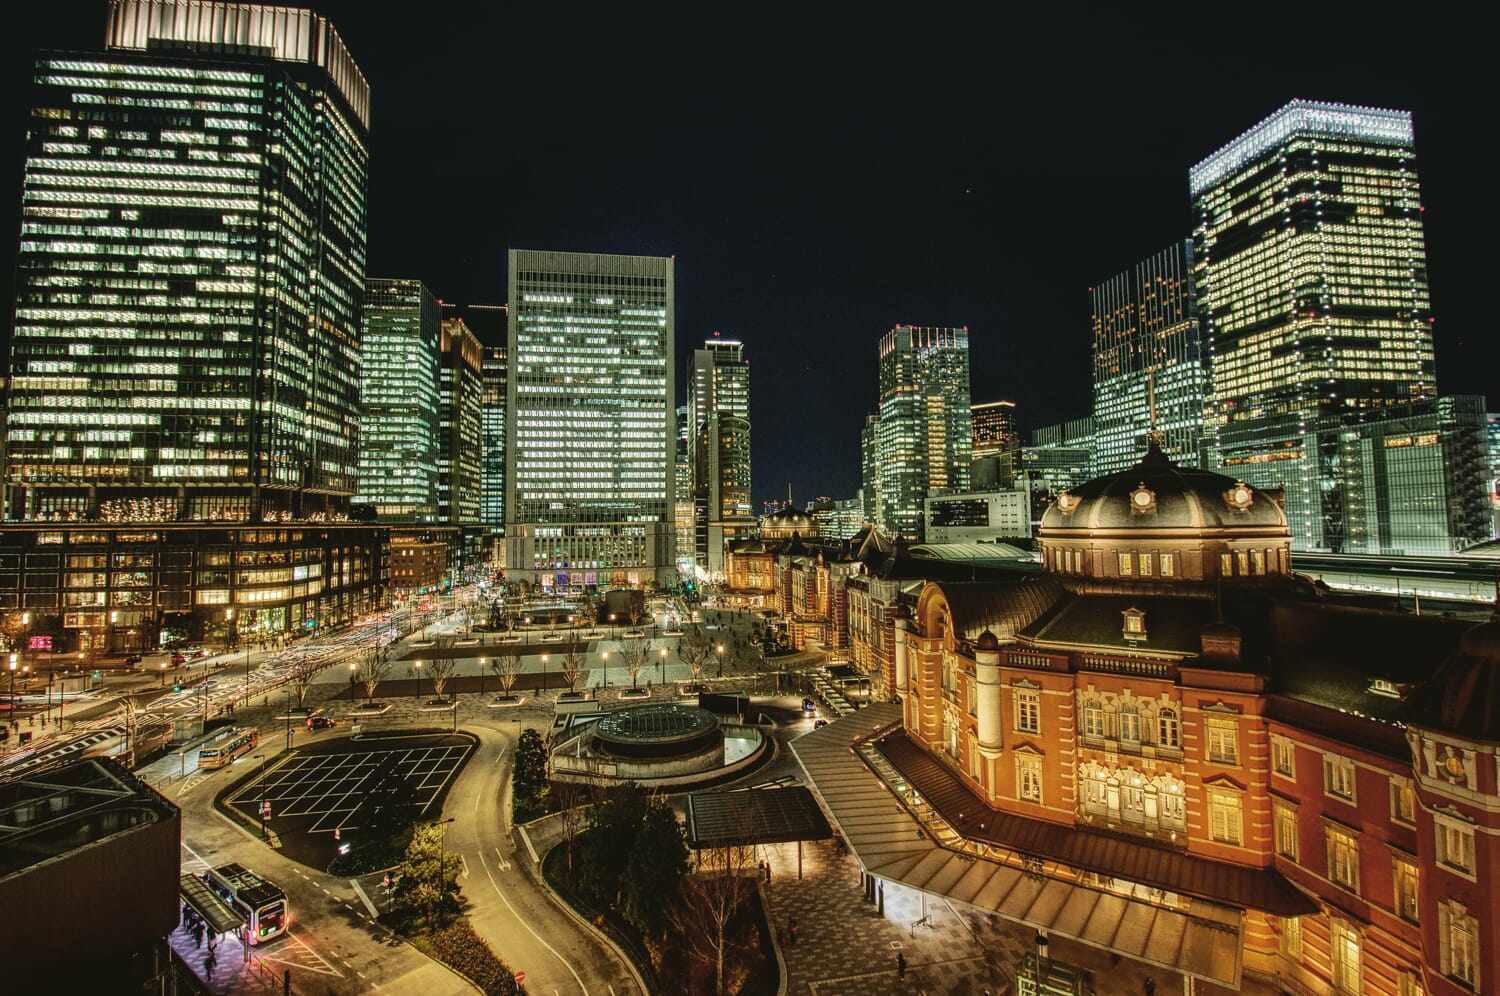
But that’s not the only time exposure bracketing can come in handy. For instance, if you’re photographing a scene that has a mix of sun and shade, you might want to use bracketed exposures in order to pull out as much detail as possible from the sunny parts and the shaded parts. This is true for landscape photography, as well as travel photography, street photography, architectural photography, and more.
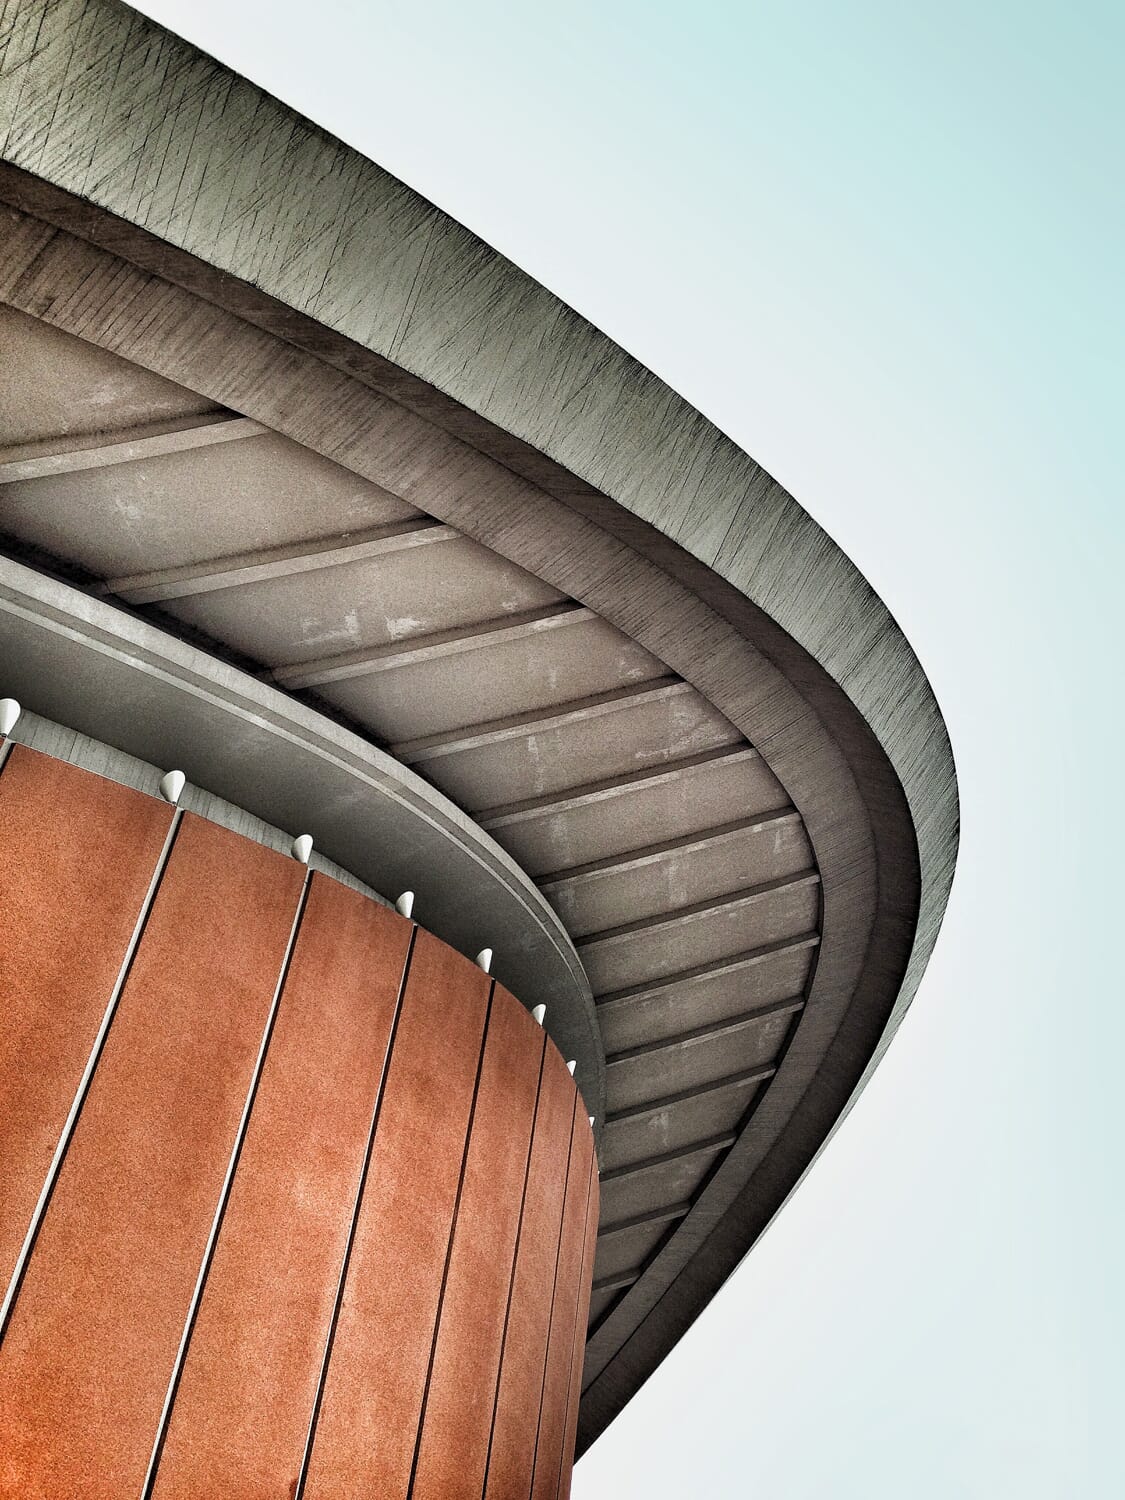
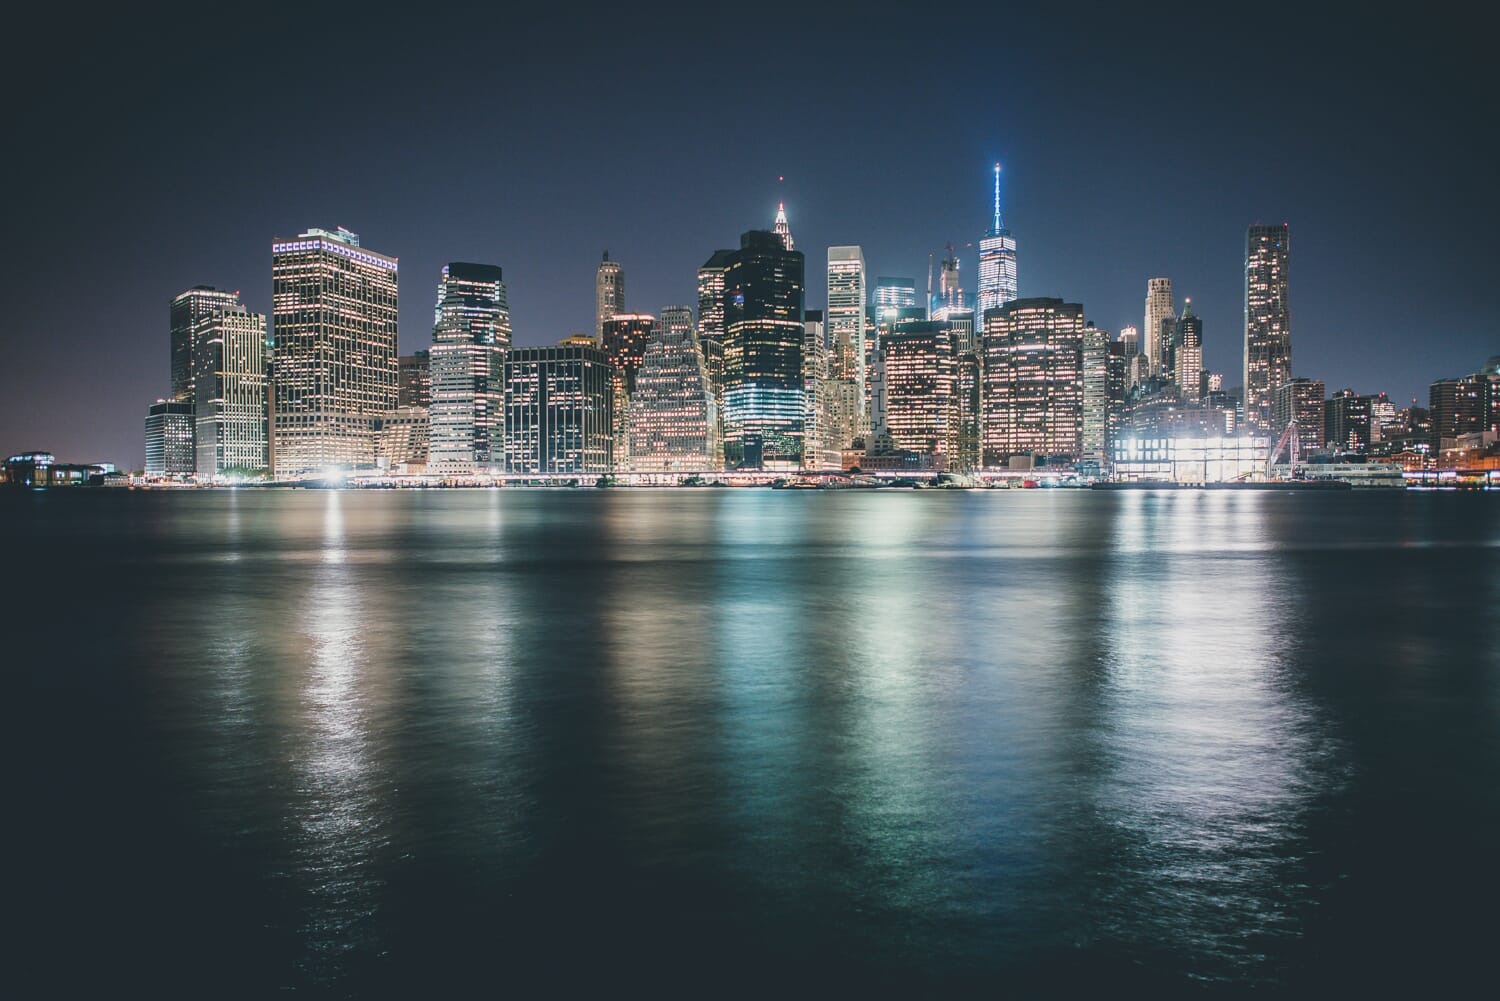
I often bracket whenever I come upon a scene that has a large difference between its darkest and lightest areas. This might be a landscape scene with sky and foreground, but it also might be an architectural scene, with areas of a building sitting in shadow while other areas remain well-lit, or a night scene, with bright buildings but a darker foreground.
Note that there’s not really a such thing as bracketing too much. Sure, if you capture a lot of bracketed images you’ll fill up your hard drive more quickly, and you’ll waste time, but it’s better to be safe than sorry in this situation.
What Gear and Software Do You Need for Exposure Bracketing?
Exposure bracketing doesn’t take much equipment.
You’ll need a camera that allows for exposure adjustments (and, ideally, lets you adjust your aperture, shutter speed, and ISO manually).
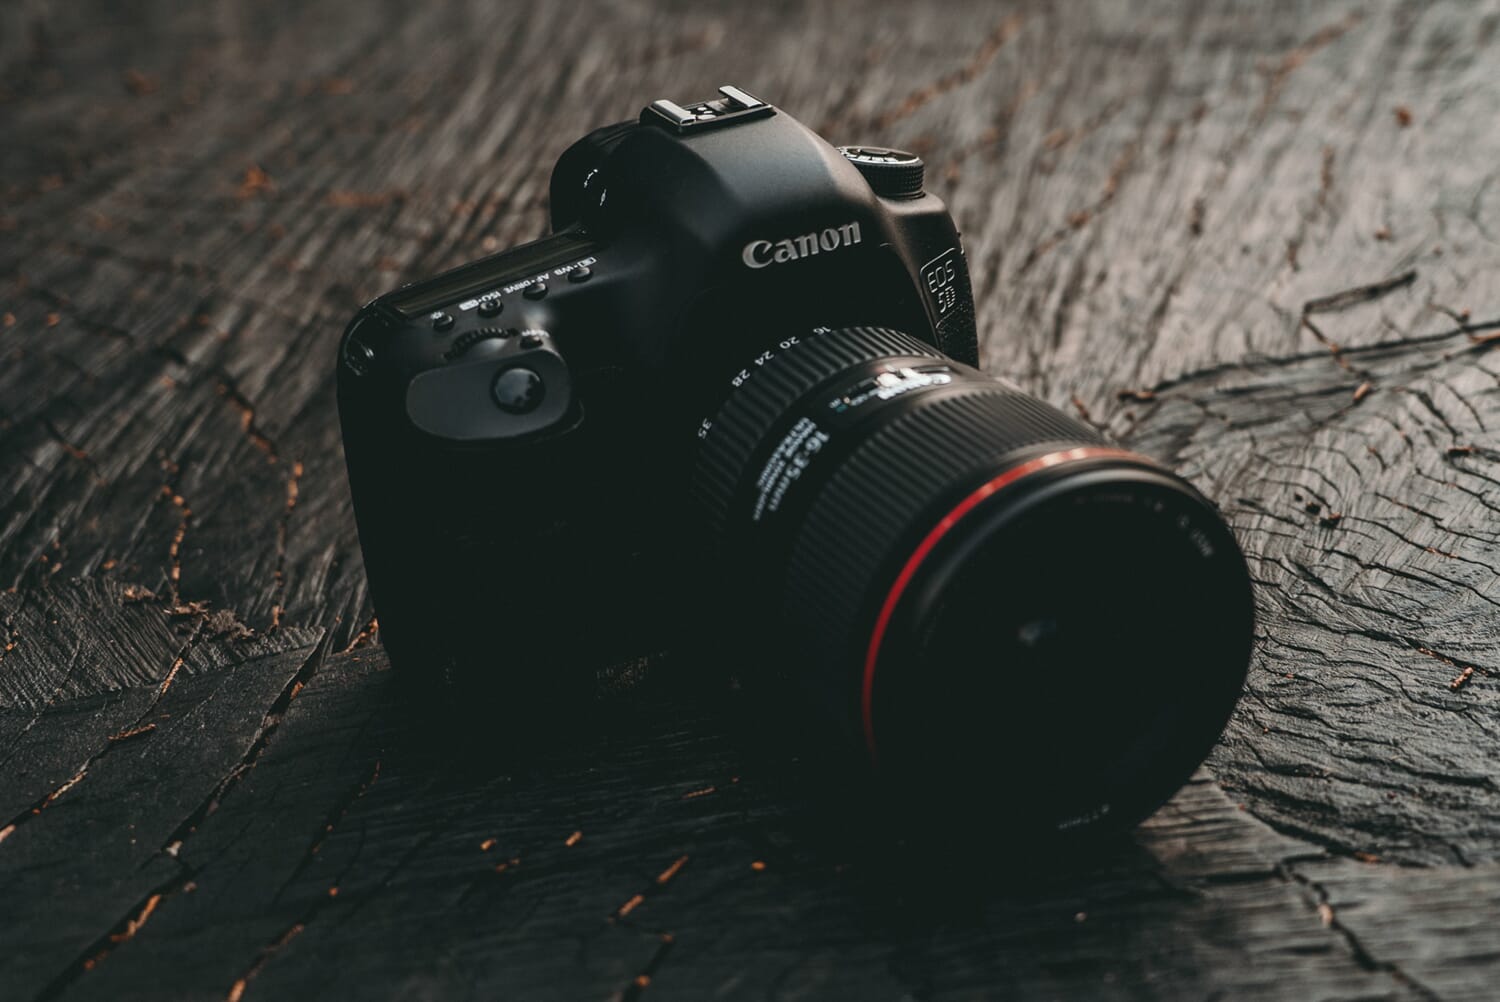
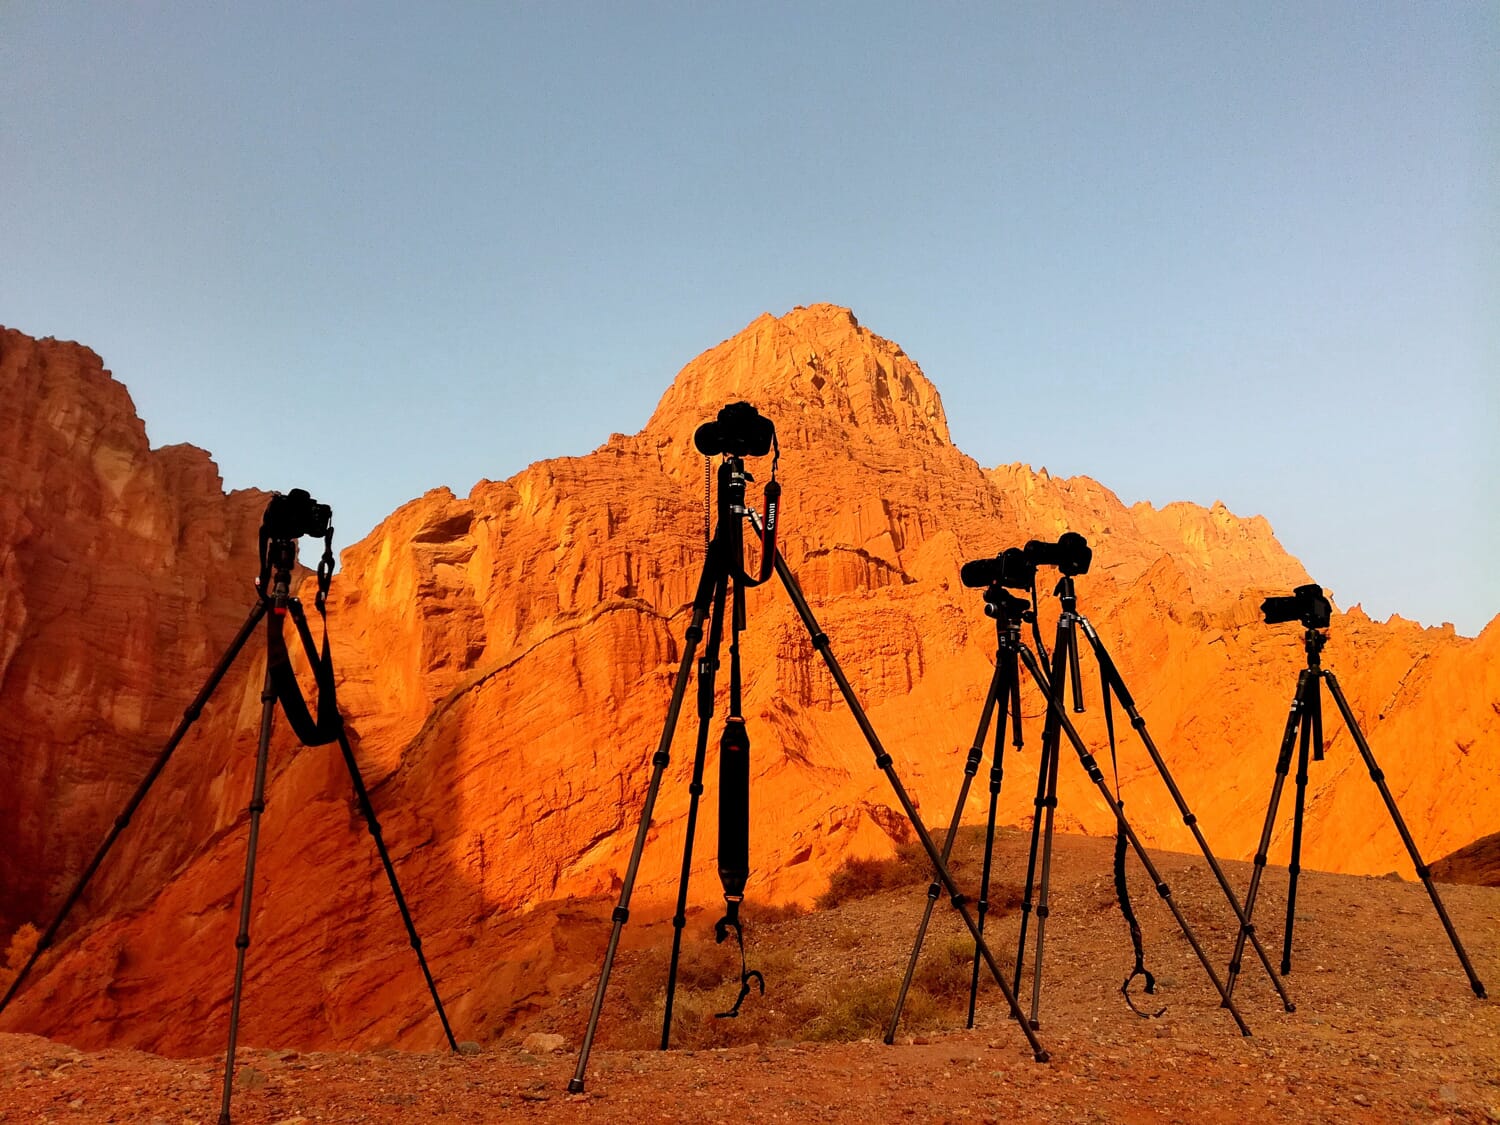
You’ll also need a tripod, because it’s very tough to keep your bracketed photos well-aligned unless you’ve used a tripod for the entire set of images. In a pinch, you can put your camera on something sturdy, or you can try to handhold, but things often won’t turn out well.
Finally, you’ll need some form of editing software that can merge bracketed exposures.
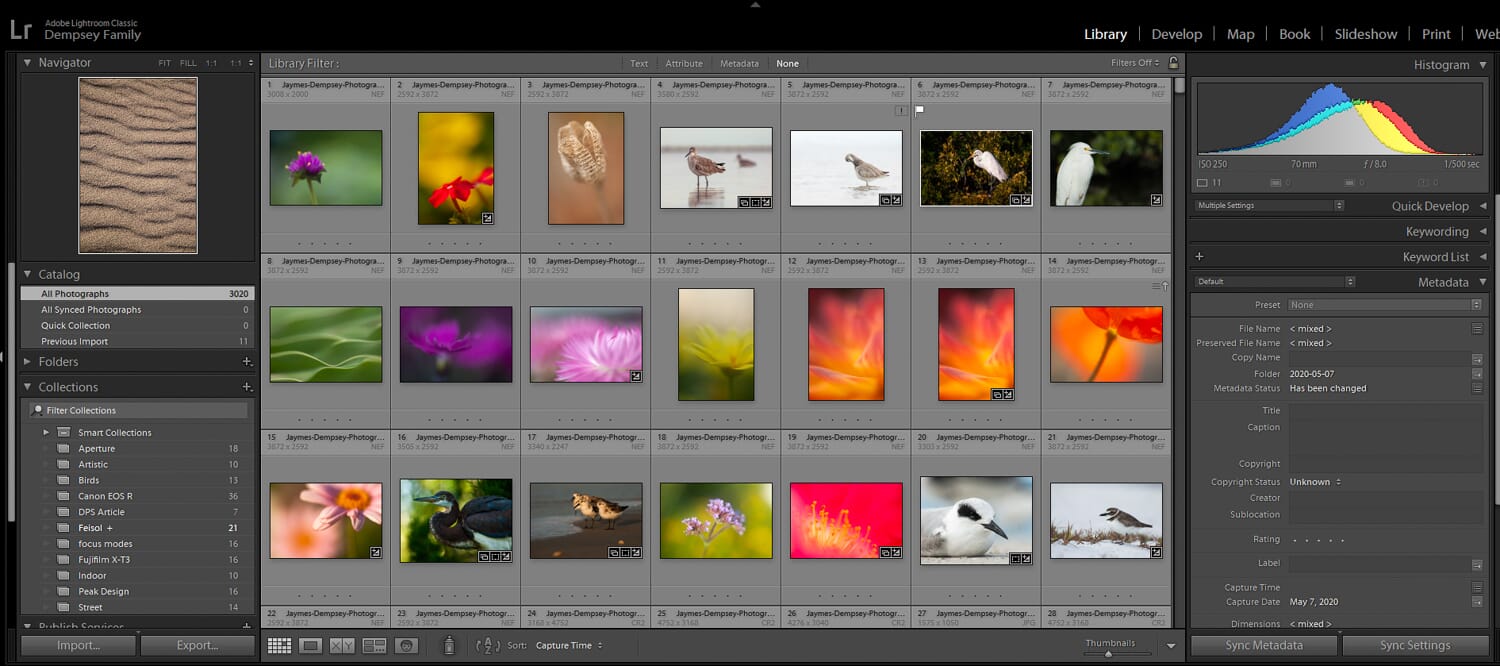
Fortunately, this is pretty easy to find. Adobe Lightroom offers simple-to-use bracketing capabilities, for instance. And, for additional control, there are more full-featured HDR software programs, such as Skylum’s Aurora HDR, or Photomatix.
Related Posts
How to Create Bracketed Images Manually: A Step-By-Step Guide
If you have a modern digital camera, then you may have bracketing capabilities built straight into your camera software.
In such cases, you can program your camera to take bracketed shots of a scene, and it’ll get the job done with minimal hassle.
Each camera is different, however, so I won’t go into the details of how to pull off automatic bracketing. Instead, I’m going to discuss manual bracketing, which is the alternative bracketing method–where you do the bracketing yourself.
Personally, I’m a fan of manual bracketing, at least when you start out.
Why?
Because it forces you to understand what you’re doing. And it gives you a sense of the number of bracketed shots you’ll need, as well as the intervals between each shot.
See, while bracketing is a fairly simple process, you do still need to make choices. You have to decide whether you want to capture three bracketed images, five bracketed images, seven bracketed images, and so on. The right number depends on your goals for the photo, as well as the dynamic range in the scene (a high dynamic range scene requires more bracketed shots in order to pull detail out of every area).
In my experience, three photos are nearly always enough. But if I’m working with a very bright sky and a very dark foreground, I might go for four shots, or even five. I play it by ear, making sure to look carefully at my Live View display.
When you’re doing bracketing (either automatic or manual), you’ll also need to decide on the interval between shots. For instance, do you want to take three shots that are only a third of a stop apart? Or do you want to take five shots, all two stops apart? Both of these options are possible, though neither are particularly common; generally speaking, shooting three shots a full stop (or, in some cases, two stops) apart will do the trick, and get you the result you’re after.
Now, without further ado, let’s take a look at how to bracket manually:
First, you’ll need to set your camera into Manual mode.
(You can do it in Aperture Priority or Shutter Priority, as well, but I think Manual is the best way to go–because any changes you make to the shot is reflected immediately in your settings.)
Then you’ll want to meter off the scene, finding an exposure that balances both the lights and darks, and keeps everything as full of detail as possible.
Take your first photo.
Next, you’ll use your control of the camera settings to increase the shutter speed by a stop or two. The amount that you choose depends on the particulars of your image, but I recommend you make sure that the brightest parts of the image are well-exposed, while everything else (the midtones and the shadows) becomes dark.
Take your second photo.

Then drop the shutter speed back to your original exposure, before dropping it another stop or two–this time so that the darkest parts of the image are well-exposed, while everything else (the midtones and the highlights, this time) become overly bright.
Finally, take your third photo.
Of course, if your shot has an unusually extreme dynamic range, you may need to do this several more times, in order to expose for other areas of the image. But as I said above, three photos should be enough in all but the most unique scenes.
Now you’ll need to transfer your bracketed images onto your computer and open them in a program such as Lightroom. Once there, you should select the photo merge option–and then watch as your three (or five, or seven) photos become one!
The Pitfalls of Exposure Bracketing
While exposure bracketing is a fairly easy technique to pull off, there are a few complications you should be aware of. These can easily ruin a bracketed shot–or, at the very least, make merging the images much more difficult.
First, I don’t recommend changing your depth of field when doing bracketing work. This will unnecessarily complicate the merging process, resulting in images that are out of sync with one another. While it is possible to blend images with different depths of fields, basic HDR software will struggle to pull this off, and manual blending will likely be required.
So, when bracketing, always change the shutter speed.
Not the depth of field.
The second major pitfall of exposure bracketing is working without a tripod. If you don’t carry around a tripod regularly, you’ll often find yourself in situations where you’ll want to bracket but you don’t have the necessary stability. This will result in alignment problems when you go to merge your images in post.
Now, in such situations, you have two options:
First, you can shoot handheld and hope for the best, trying to keep your framing as consistent as possible. While this isn’t easy to pull off, it is possible. In such situations, I recommend you compose a bit wide, because you’ll likely lose areas around the edges of the frame in the merge.
Second, you can stabilize your camera on something around you. You could place it on the ground, on the hood of a car, on a log–whatever you can find that will allow you to keep the framing consistent.
Make sense?
And here’s the final pitfall of exposure bracketing:
Working with subjects that are moving.
You see, if you take several photos, even seconds apart, a fast-moving subject will make their way into and out of the scene.
And that same subject will appear in different positions for each photo. Sort of like what you get with a long exposure photo like this:

This is a problem, because a merged image will include several renderings of the same subject, as it moves throughout the scene (often referred to as ghosting).
Now, most HDR software has algorithms that attempt to take care of this, but with varying rates of success.
So I recommend you try to keep your HDR images as motion-free as possible; that way, you don’t have to deal with any ghosting issues.
Exposure Bracketing for High Dynamic Range Photos: The Next Step
Now that you’ve finished this article, you should be familiar with the fundamentals of exposure bracketing.
You know why exposure bracketing is necessary, when you should use it–and you even know how to manually bracket in HDR situations.

So all that’s left…
…is to get out and practice!
What is exposure bracketing?
Exposure bracketing is a method of retaining detail in very bright and very dark parts of photos. Instead of taking a single photo that clips highlights or shadows, you can take several photos–then merge them together, keeping the best parts of each photo. It’s most commonly used in landscape photography, where skies and foregrounds include huge tonal differences, but you can also use exposure bracketing in street photography, travel photography, architectural photography, and much more!
Can Lightroom process exposure bracketing?
Yes! Lightroom does have HDR exposure capabilities. Photoshop has this as well, and you can try working with both programs to process your bracketed photos. If you’re not pleased with the results, then you can always switch to more dedicated software, such as Aurora HDR or Photomatix.
Do I need special gear for exposure bracketing?
Technically, no–all you need is a camera that allows you to adjust the exposure manually. But a tripod is also very, very important; you need your composition to stay consistent from shot to shot, otherwise you’ll end up cropping a lot of the frame borders (or you’ll completely fail to merge the images). If you don’t have a tripod, you can try stabilizing your camera on something hard, such as the ground or a tabletop.